
The difference between low-quality images and high-quality images.
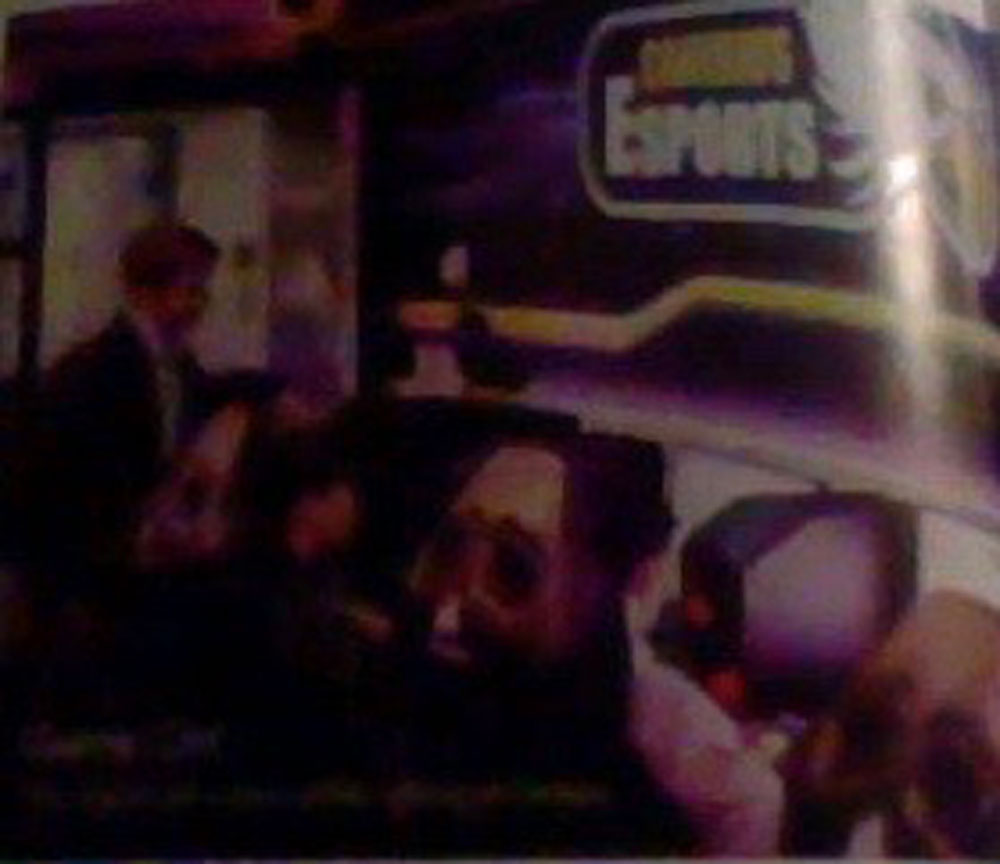
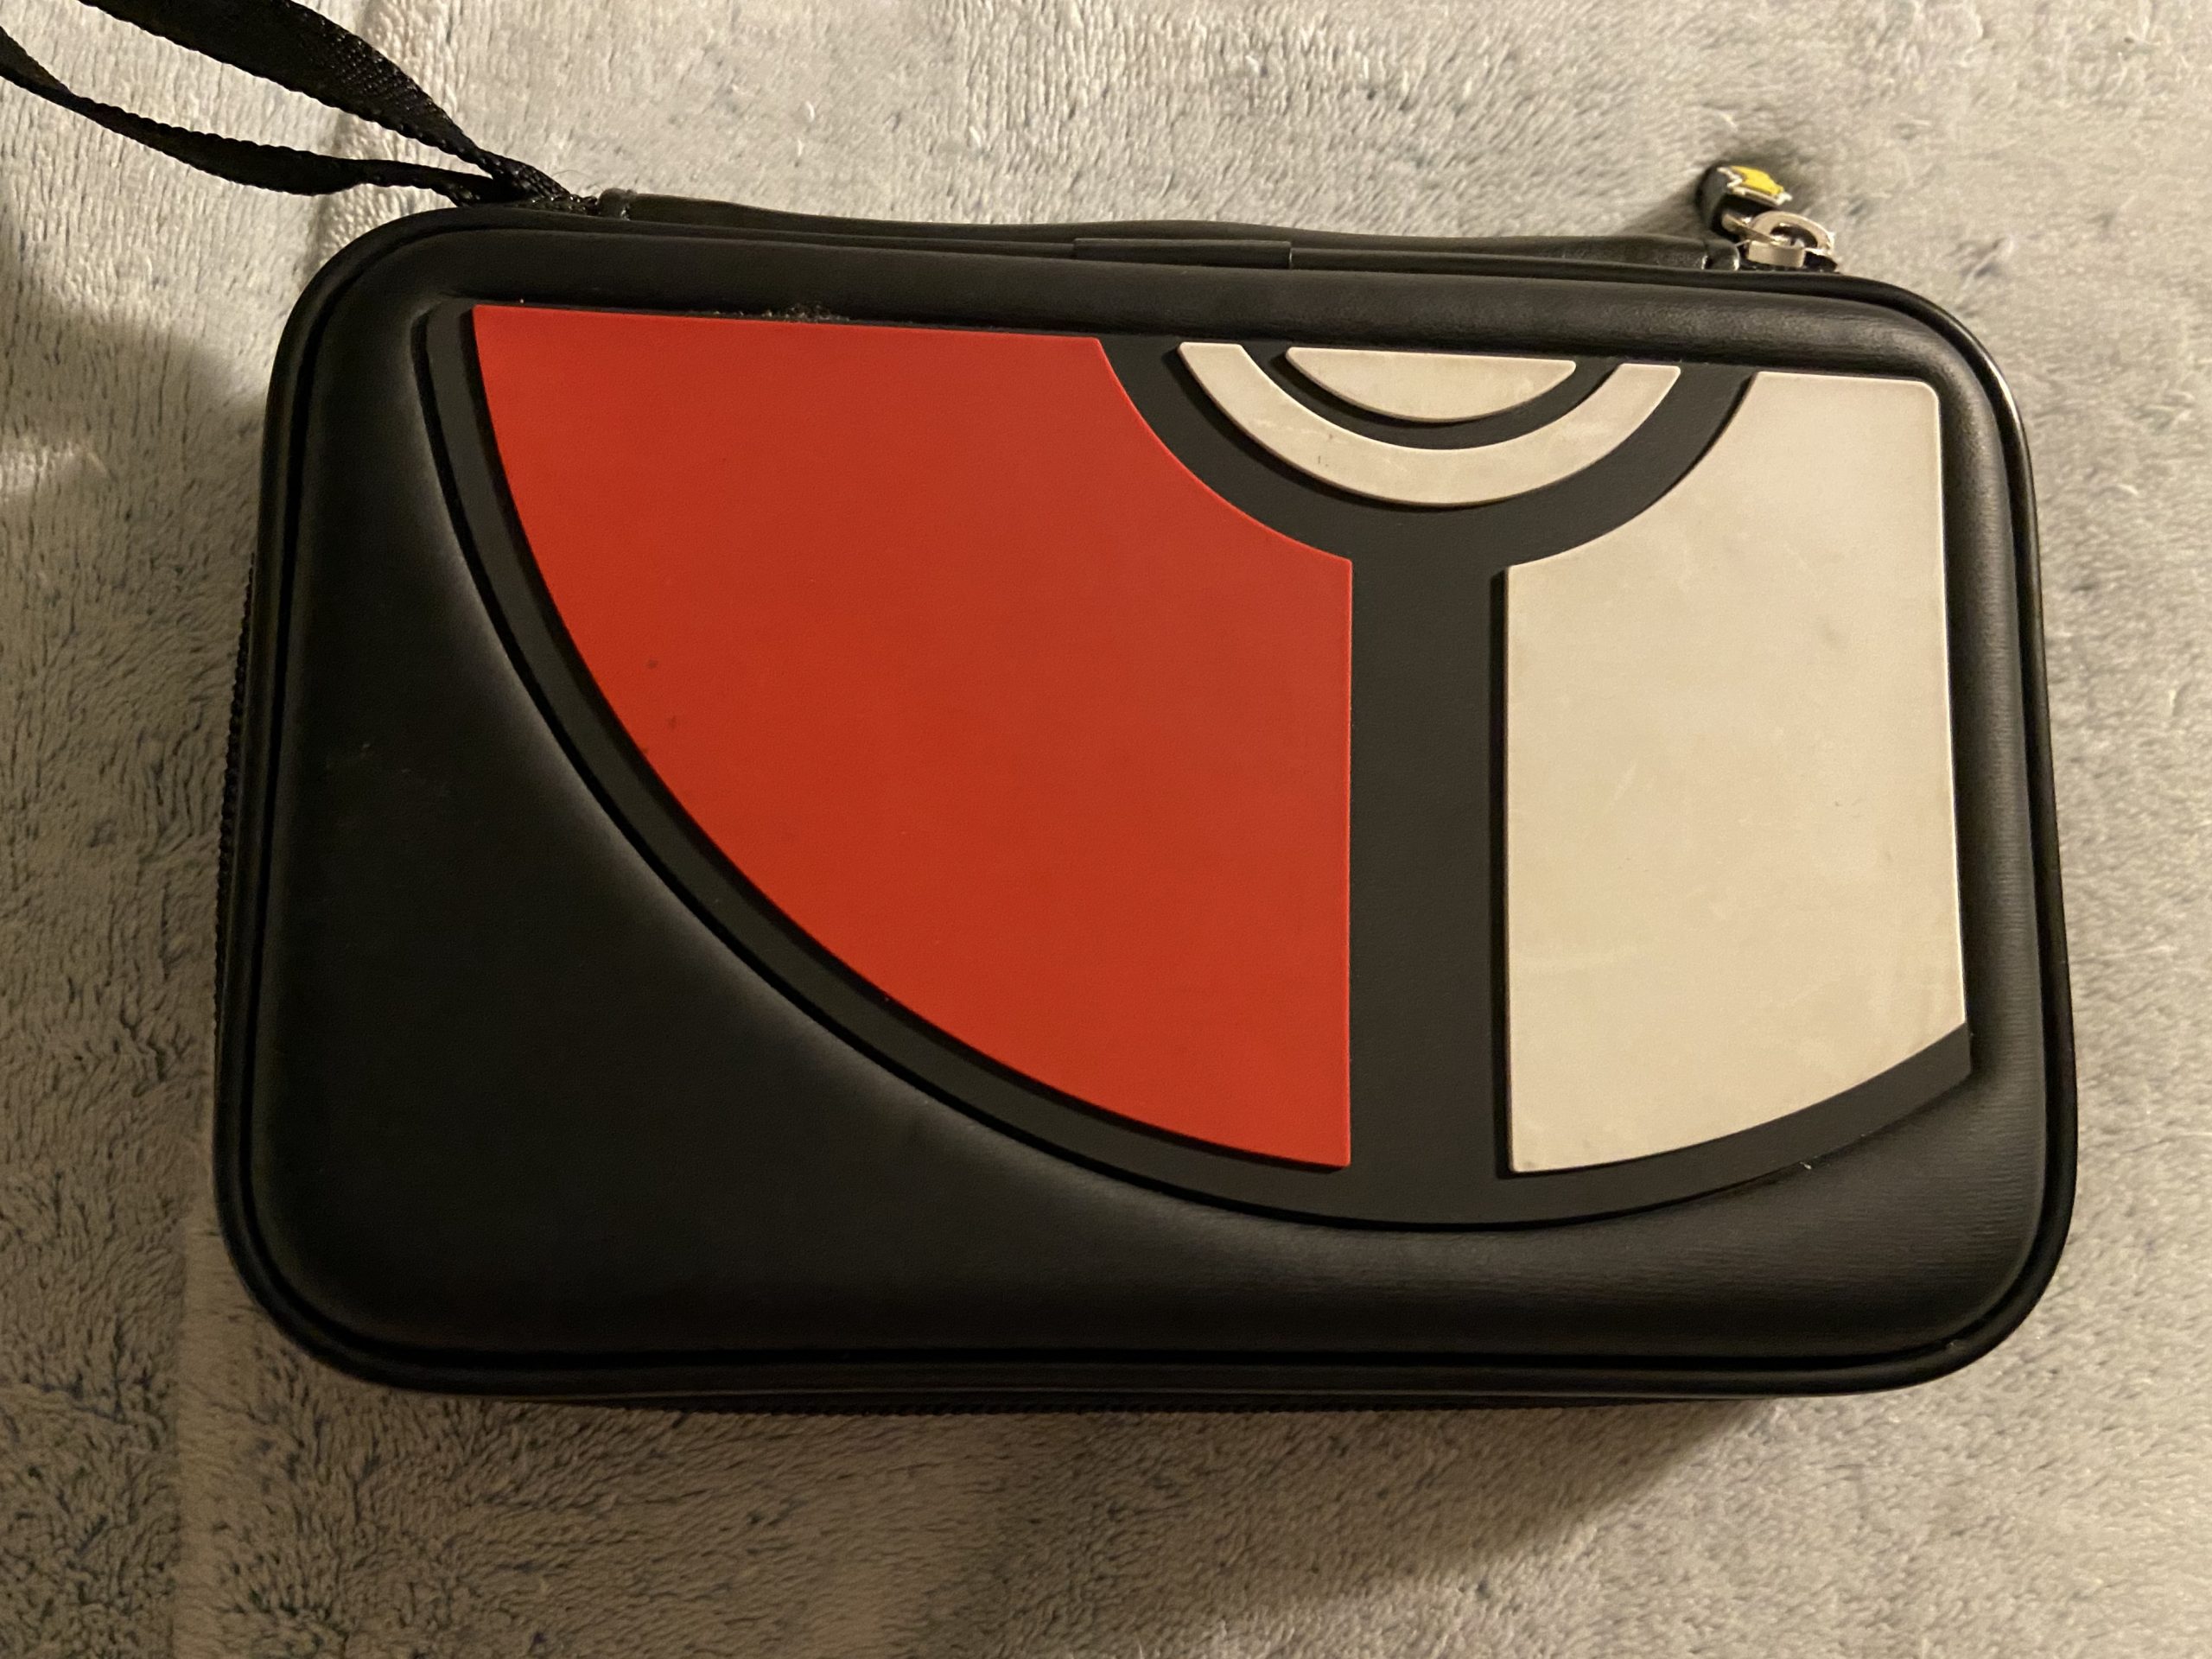
I did not have a high-quality camera I could use from the school for this part, so instead I made the comparison using an extremely old, low-quality camera such as a 3DS camera, and a better, higher-quality camera such as my iPhone 11 camera. The differences are very apparent; the 3DS camera creates smaller files, while also having poor lighting quality and blurred colors or details. A lot of the faces in the magazine are hard to see, and the colors are not clean or clear. Also, in the photo of my 3DS case, you can see it is quite grainy too. The camera is not meant for taking amazing photos. However, the photos taken by the iPhone 11 are clearer and cleaner. They do not blur colors together and the lighting shows the difference of angles and details. You can see where the item is closer to the light and where it is not.


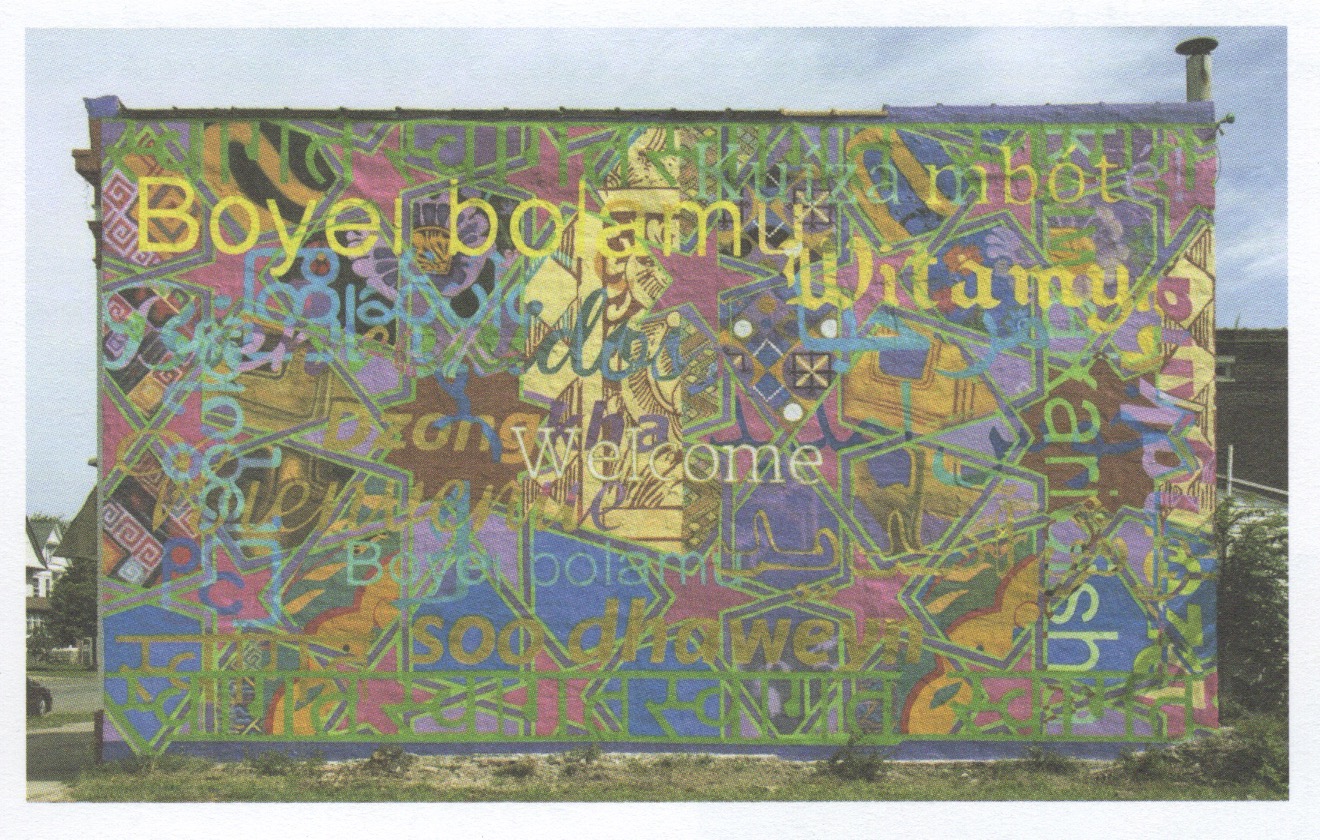
The effect of scanned resolution on image sizes and more.
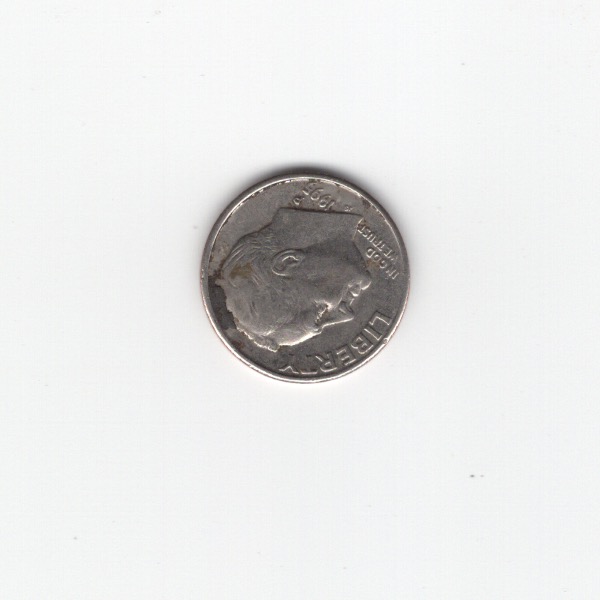
Some of the effects of scanning in something and the terms of the image size is: Some images are much more crisp or outlined if it is a harder material object, such as a coin. However, photographs or drawings tend to look extremely light when scanned, possibly because of the light hitting the paper and the paper being quite thin? When scanning in an item, to gain more focus on my item, in the scan menu I draw a box around the item I want to focus on, so if some images seem quite large it is possibly from that.

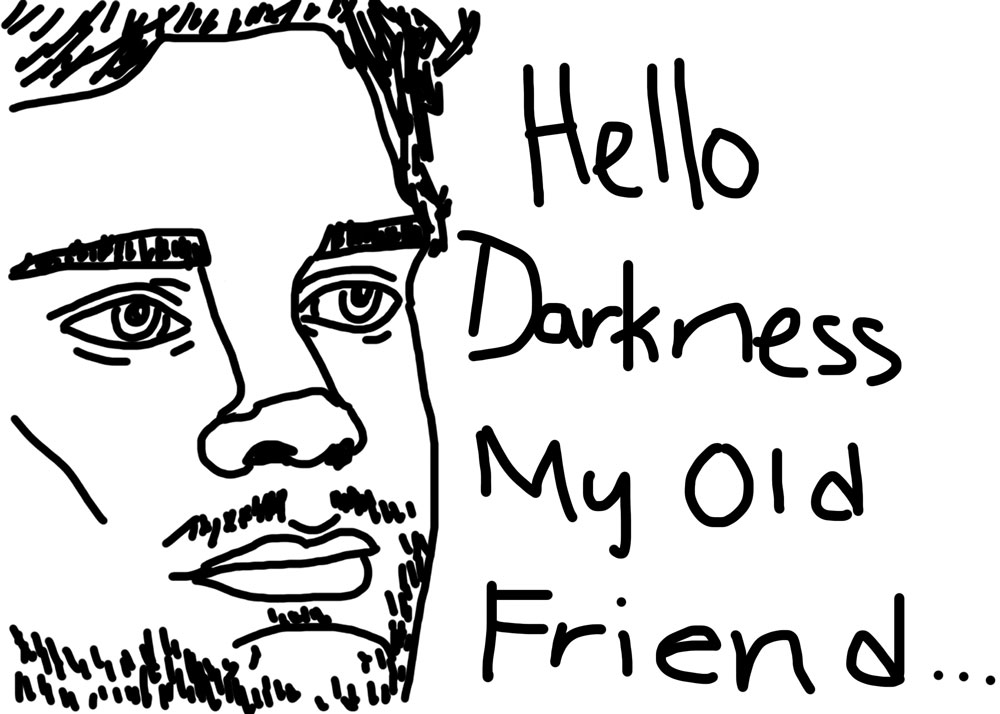
How to setup a new file dimensions.
For setting up this files dimensions, I made sure that the picture wouldn’t be considered too large for the blog, but I also went based off of a meme image I had saved somewhere. Not only did I have a blast with this, but I also discovered that drawing with a mouse is horrible and that drawing tablets are an amazing thing. You may have to check a website’s rules on how big a file can be, or the size requirement for uploading a file. I made sure my file would not be more than 2 Megabytes (MB), which is bigger than a Kilobyte (KB) but smaller than a Gigabyte (GB)! Some websites may not upload your photos, and give you an error message saying “Photo couldn’t be uploaded since the size was too small/too big.” and may give you your minimum sizes and maximum sizes.
I learned how to take photos with a low-quality camera and a high-quality camera. I also learned how to correctly use a scanner for this lab. I learned a bit more about dimension sizes for a new file, as well as the different resolutions for scanned photos.
The easiest part was getting the photos and scanning them into the computer. It was also super easy taking the photos I needed.
I had a hard time finding objects to take photos of or items to scan in. I don’t really own any magazines, so I had to use a Canisius College magazine.
I could have used better objects for this lab for a fact, had I had access to better objects.
I actually had no issues with this lab.
I can use my knowledge of cameras and scanners later on for when I have to scan in work for a project and more.
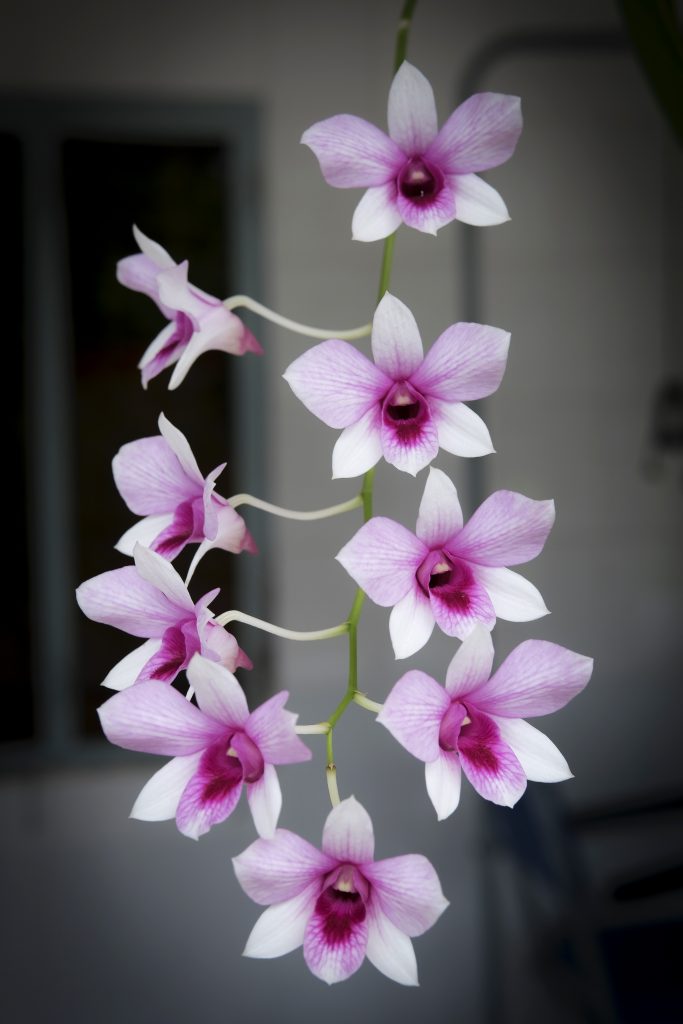
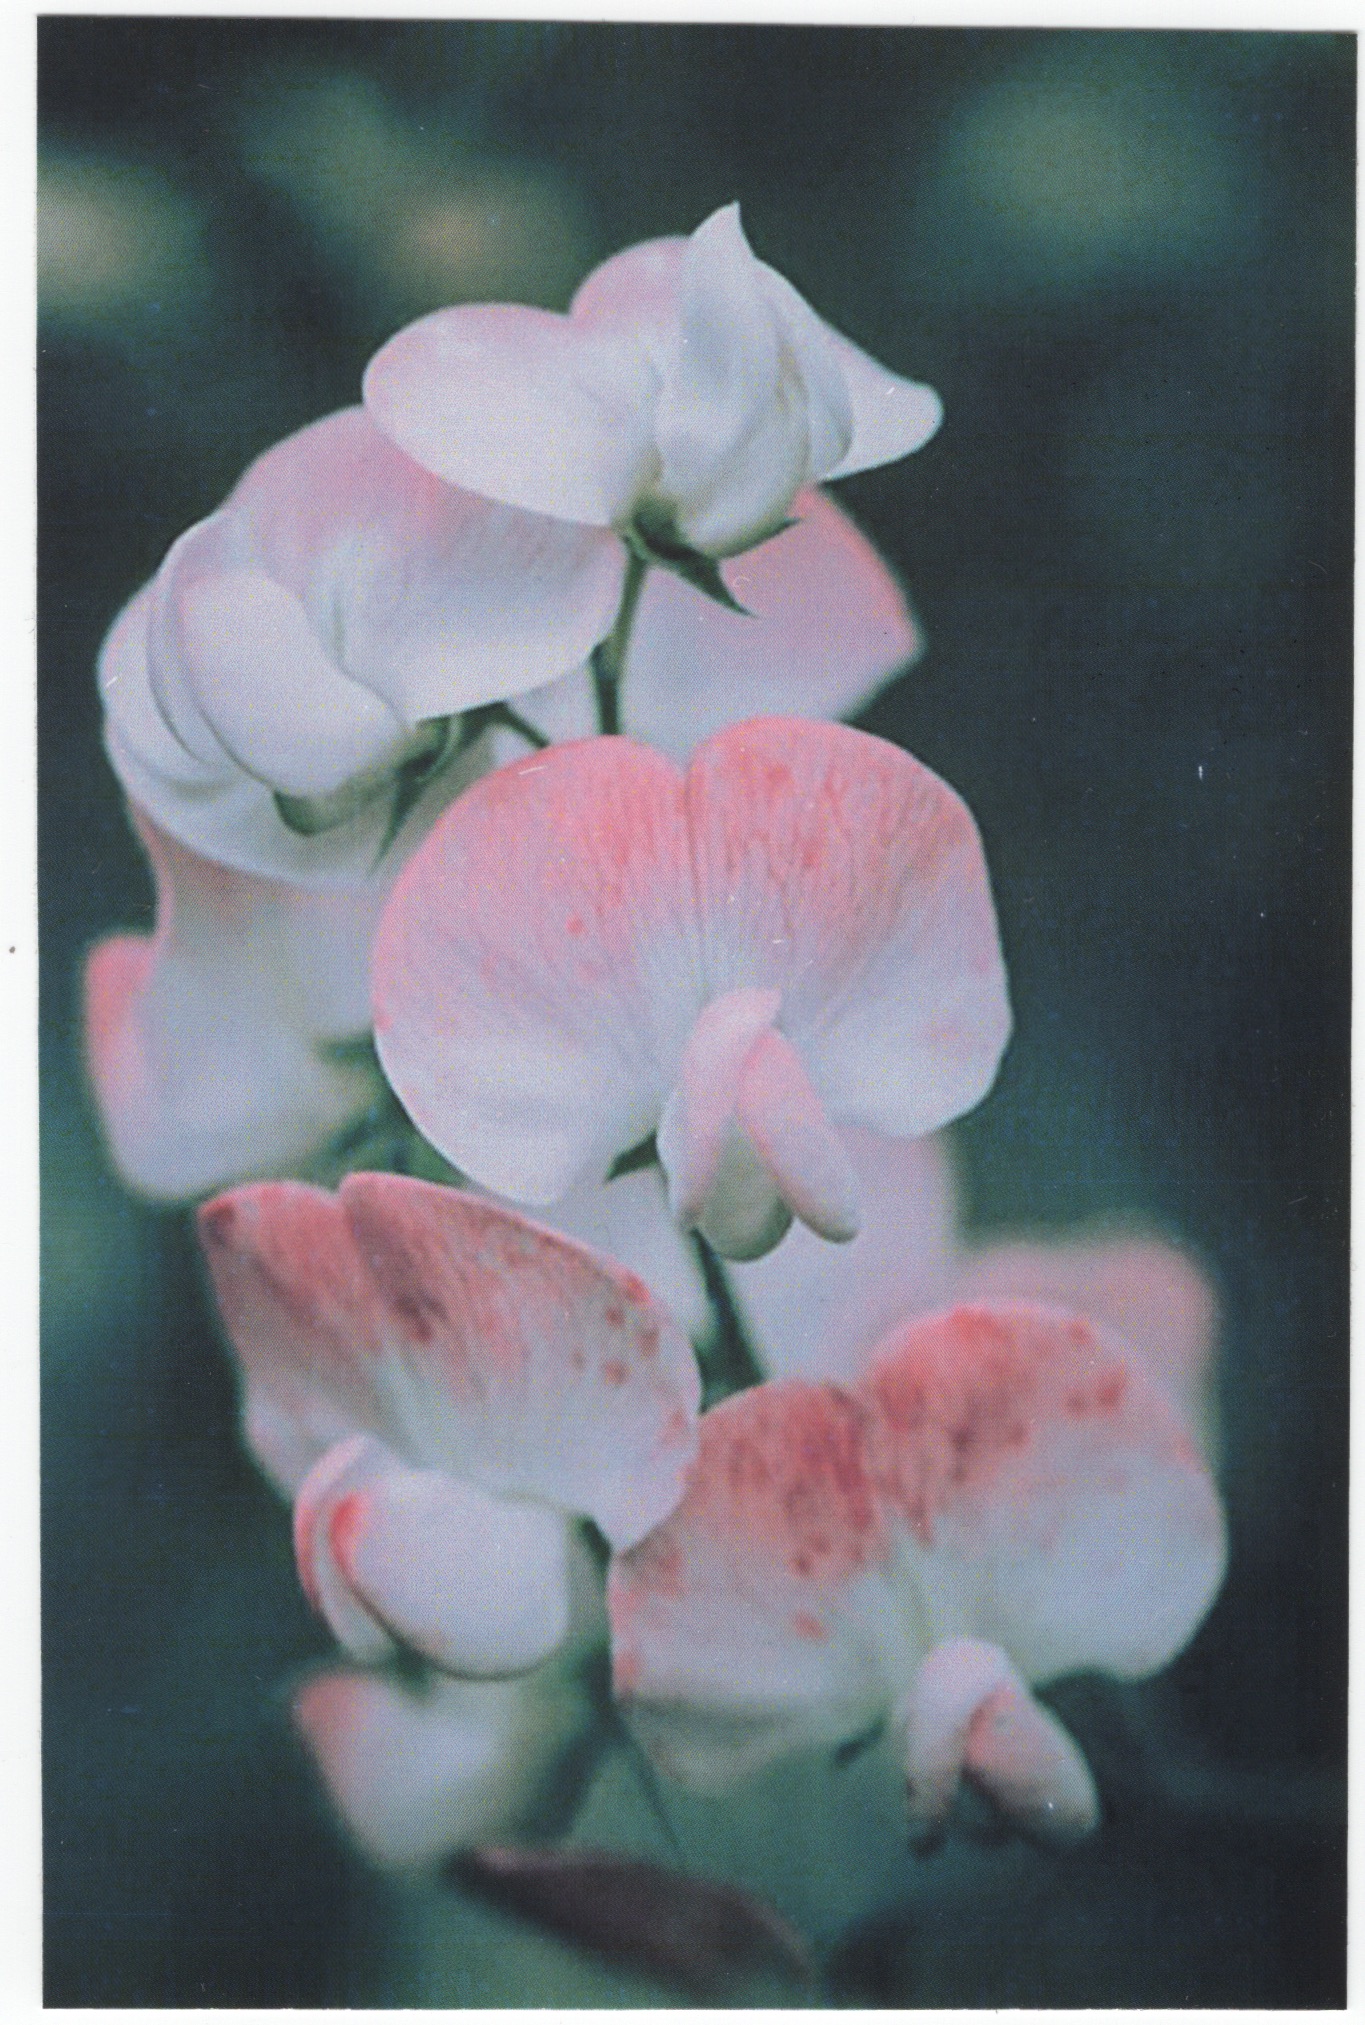
I used a few works by other artists on unsplash, who took beautiful photos of orchids, which I currently can’t take photos of any since mine died by the paws of my cat.
Artists and photos: https://unsplash.com/photos/eSgHI8weVCs – Paweł Czerwiński