Step One: Download An Image

Downloaded from Unsplash.
Step Two: Photograph Images
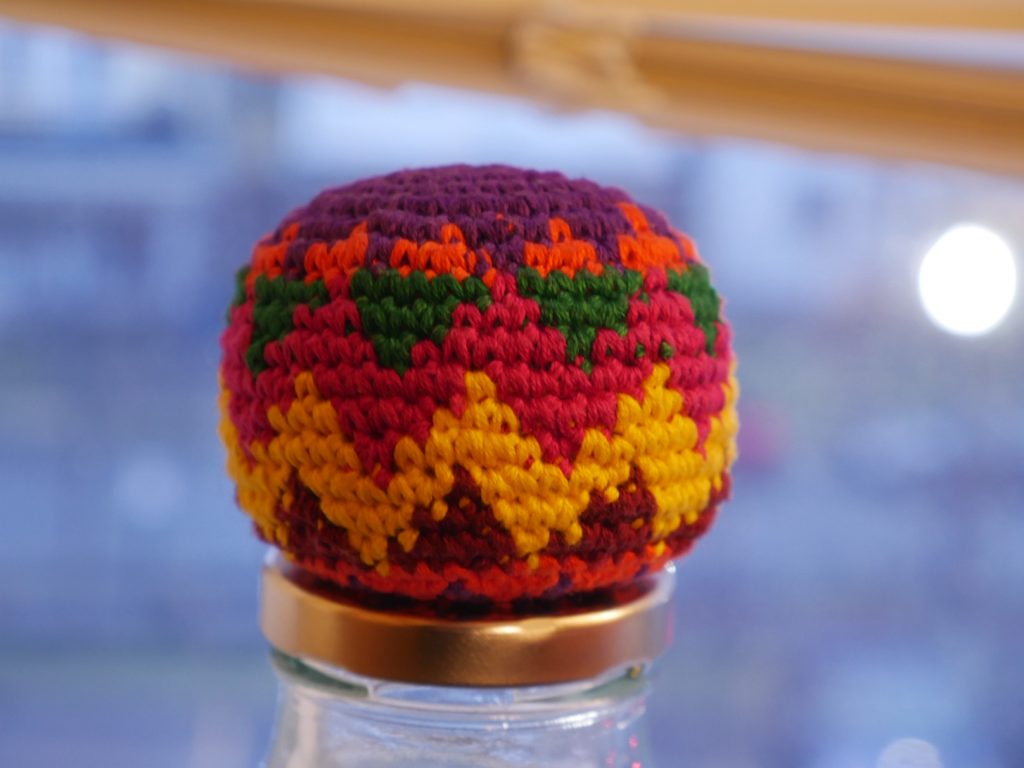
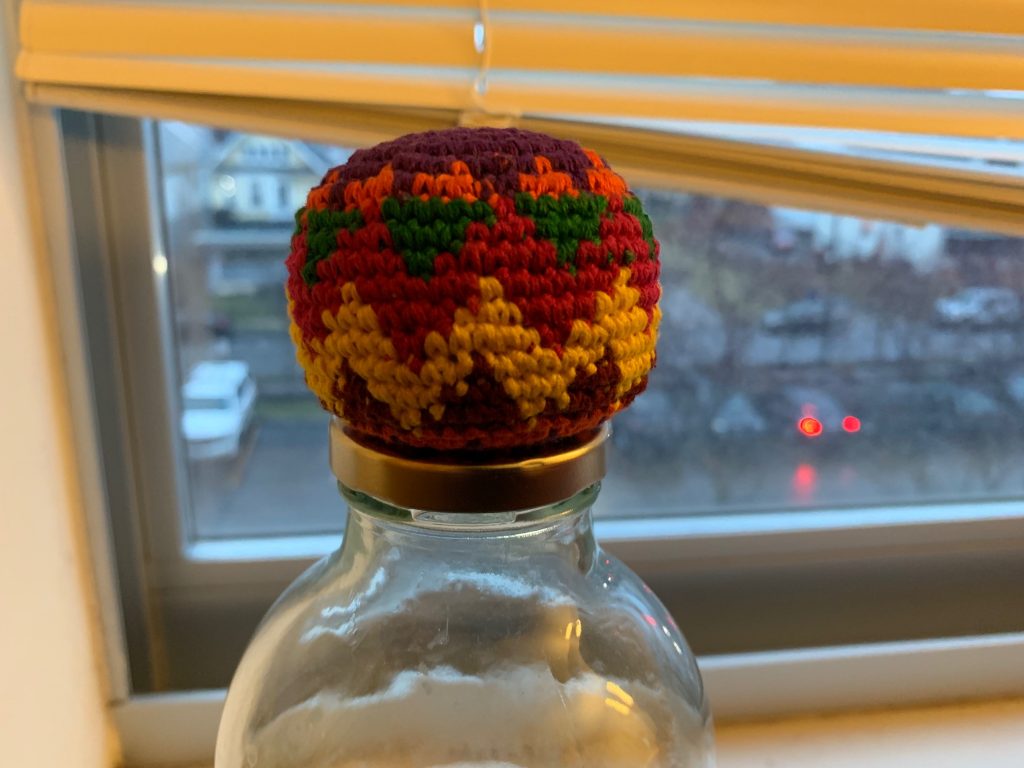
The image quality on the DSLR photo is much better, this can be seen when zooming in. On the iPhone photo the photo begins to look grainy and shows pixels unlike the DSLR photo which when zooms in holds the quality better. This DSLR photo also has a better depth of field and shows the photos subject more clearly than the iPhone photo. This depth of field can be better illustrated in for example photos of one flower in a meadow or a piece of garbage in a crowded city street. The DLSR will highlight the subject where the iPhone will take a general flat photo.
Step Three: Scan Images
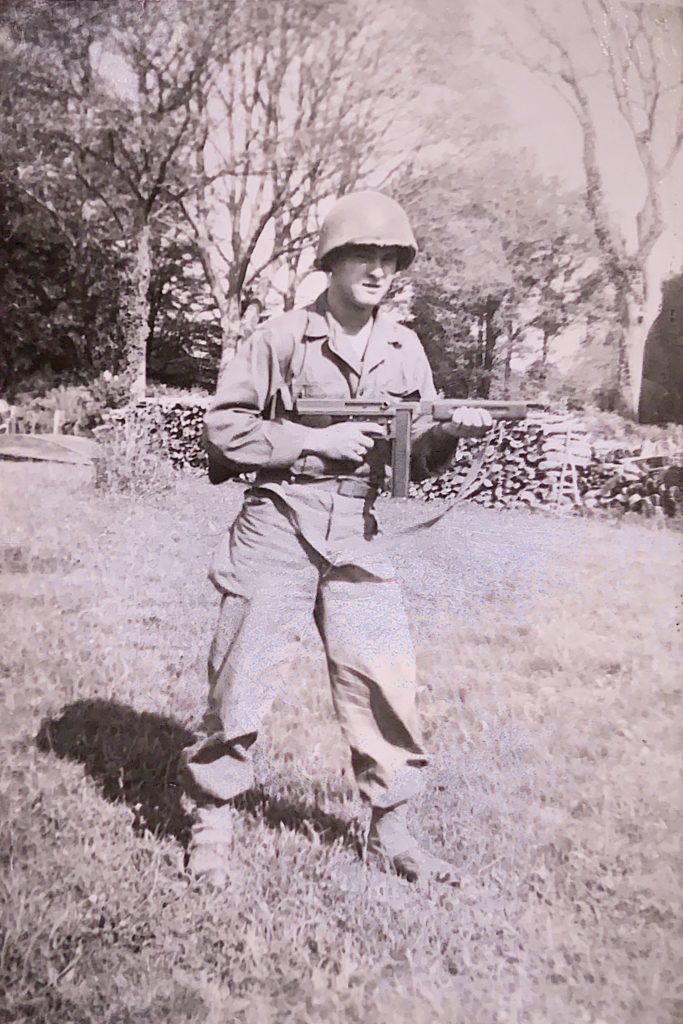

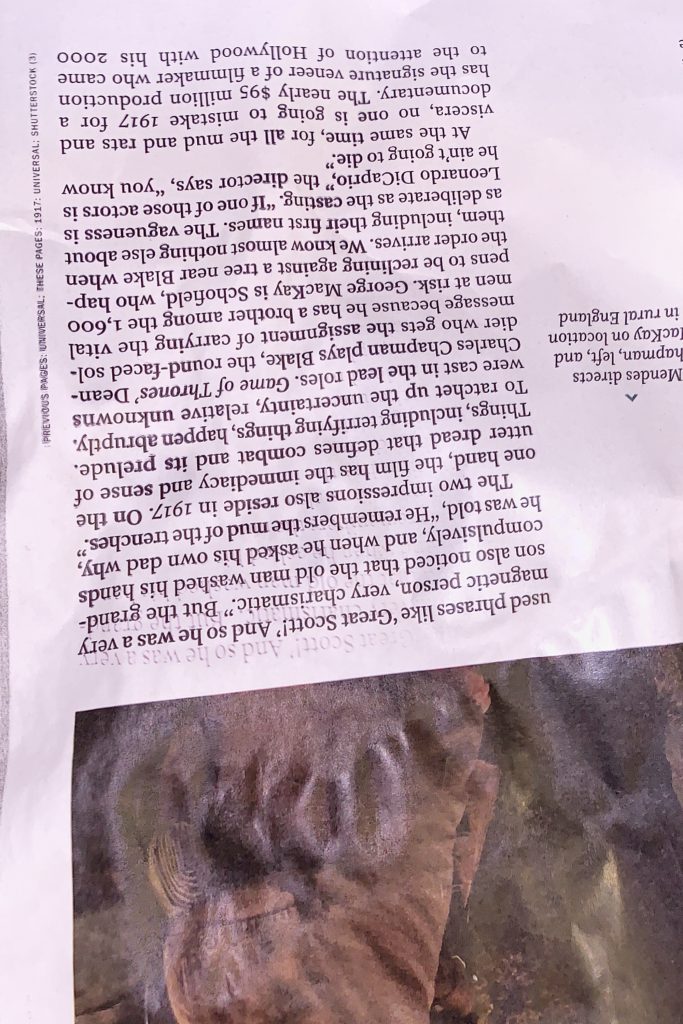
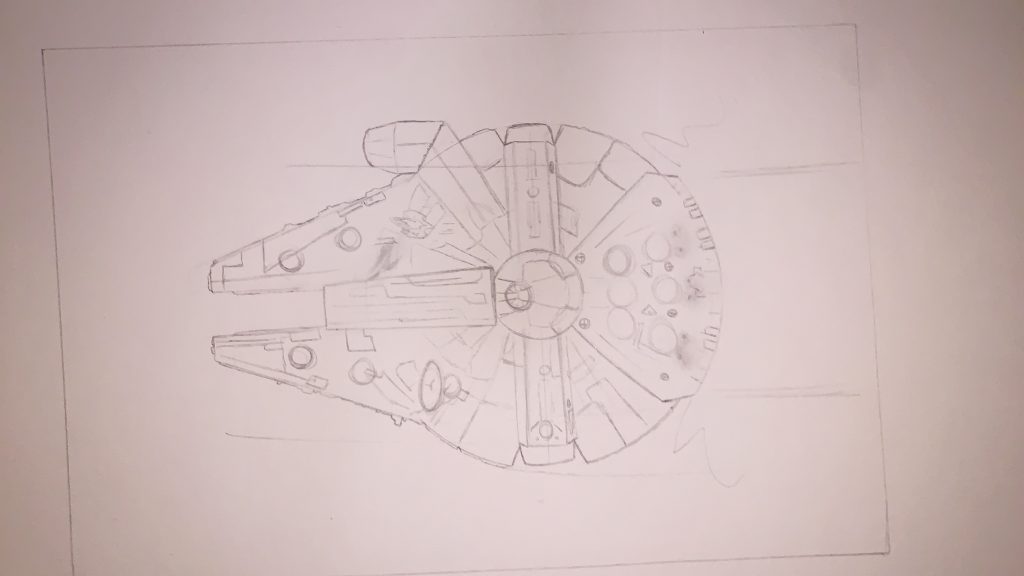
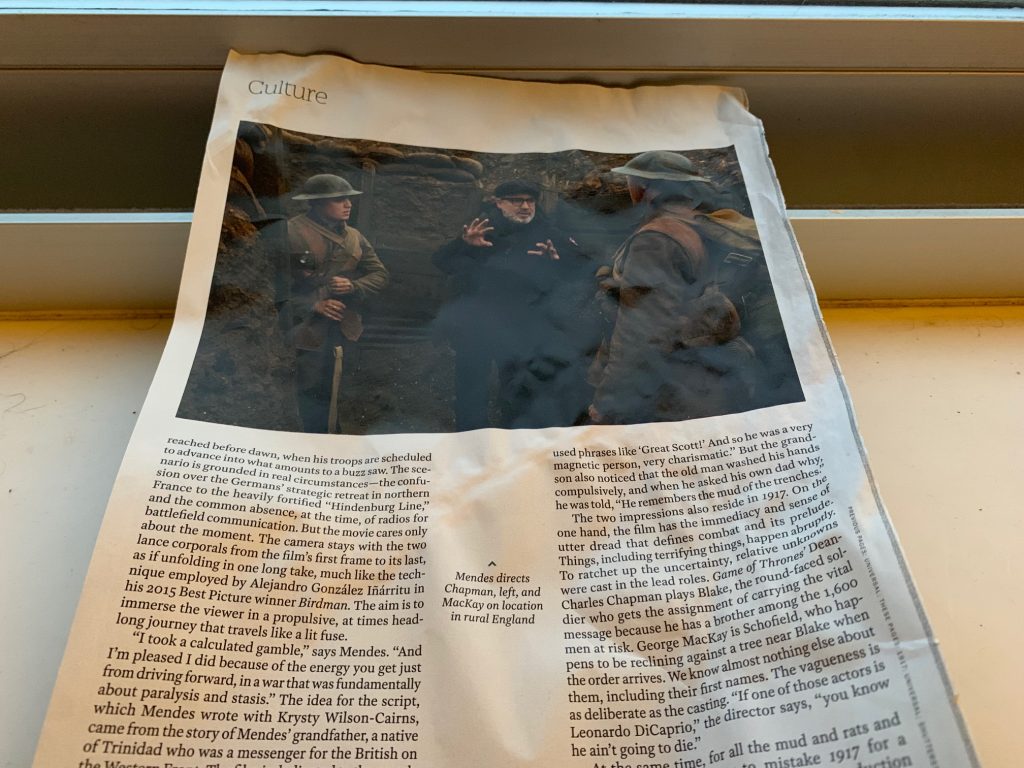
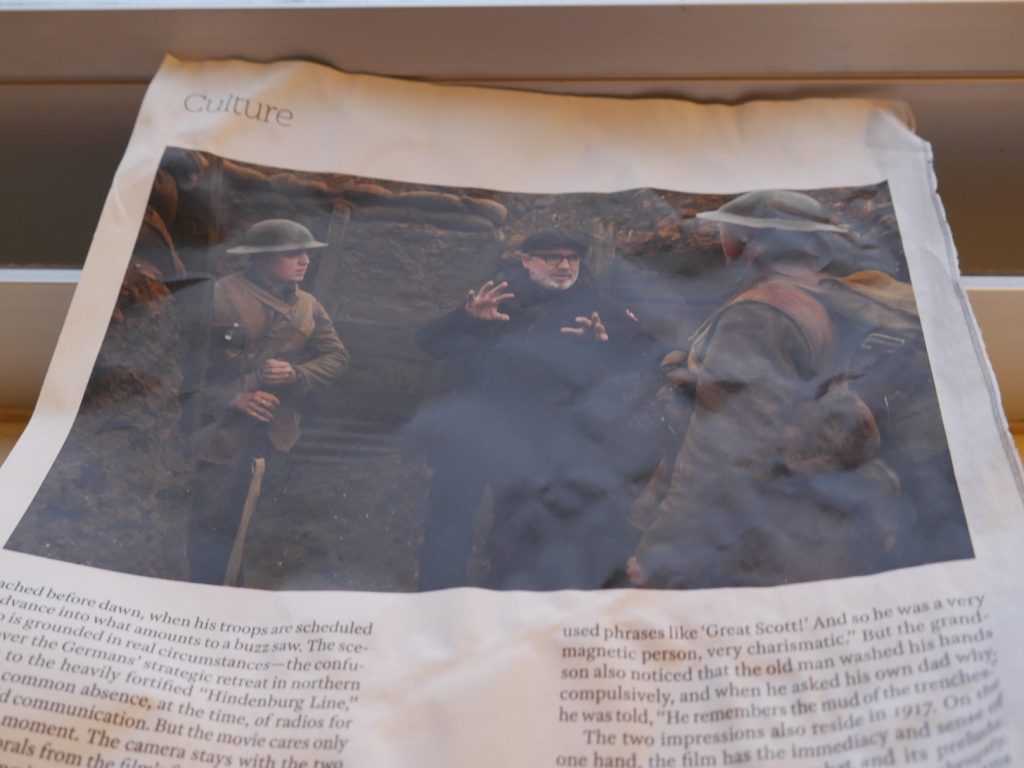
The resolutions sizes are varied when scanning based on the size and overall condition of the objects. This can be seen with the magazine page that has been torn and bent which produces a bad scene where the playing card is near perfect and results in a crisp and detailed scan.
Step Four: Generate An Image

- What did you learn? The most important thing I learned during this project was the difference between cameras and how large the gap can be. When looking at the iPhone picture compared to the DSLR photo there were many things I never considered in looking to see which photo is higher quality.
- What was easy? The easiest steps were taking the images on the cameras and scan the images.
- What was challenging? The most challenging aspect of the project was doing the photoshop end of the project. I don’t have much experience with the program.
- How could your submission be improved? more attention to details and a better undressing of photoshop.
- How could the professor improve the assignment? More detailed responses to the photoshop and the intricacy of the program. I believe it to have a steep learning curve.
- How might you apply your knowledge in future assignments or work scenarios? This knowledge of using images will help me on future projects so that I know what my image will look like in print or enlarged for a client.