A Day in my Life
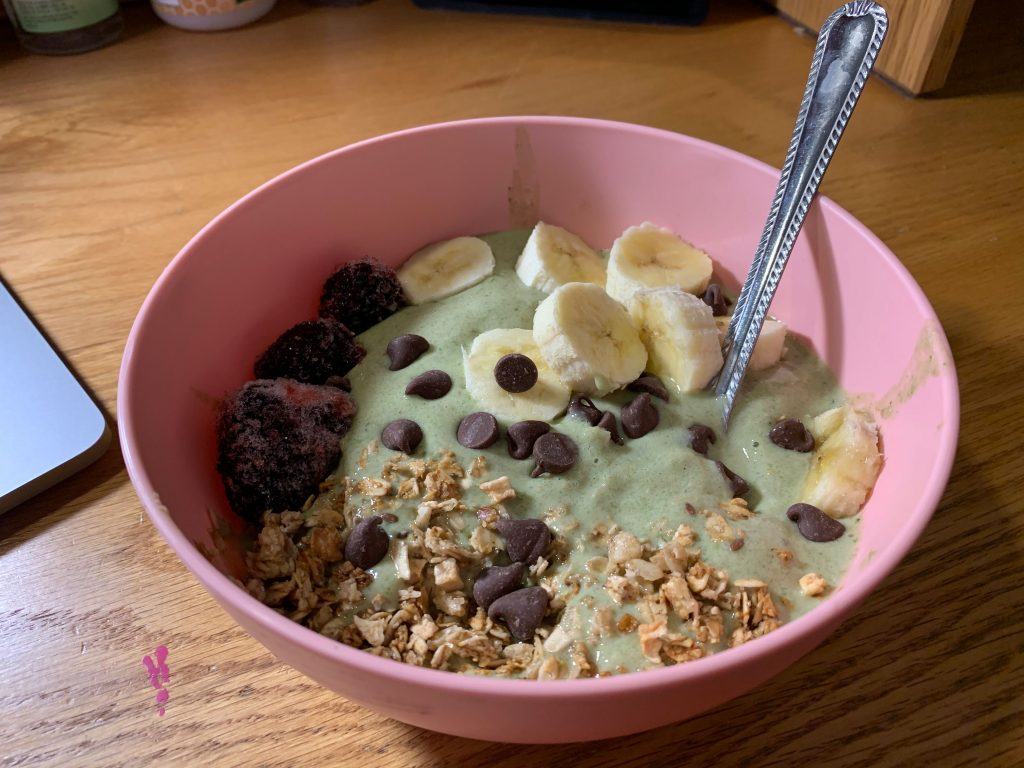
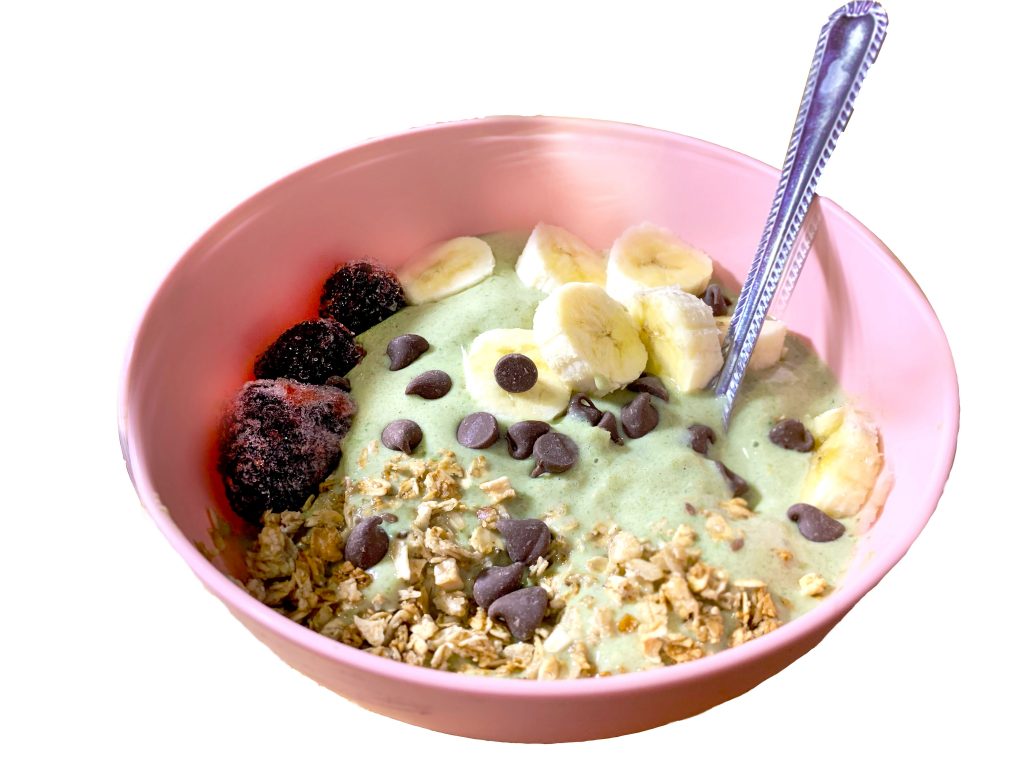
In my original photo there is a smoothie bowl. I used the magnetic tool to get rid of the background and increase selective colors to add more ‘pop’ to the smoothie. I also used the clone stamp to get rid of imperfections. The photos were both taken with my iPhone XR.
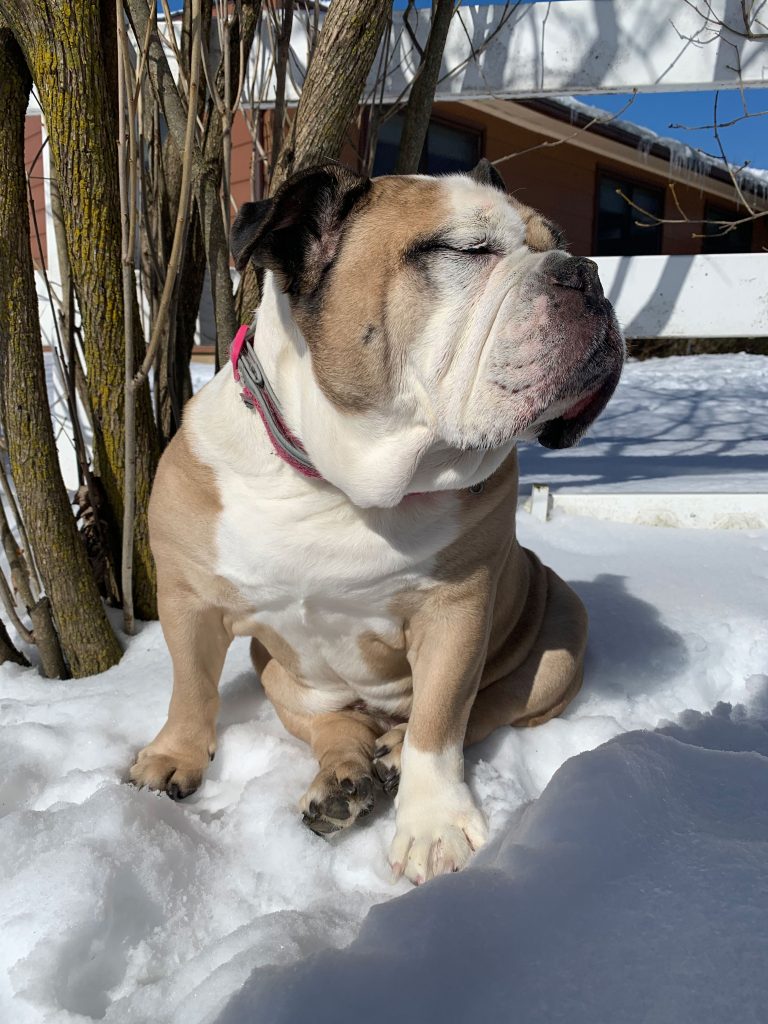
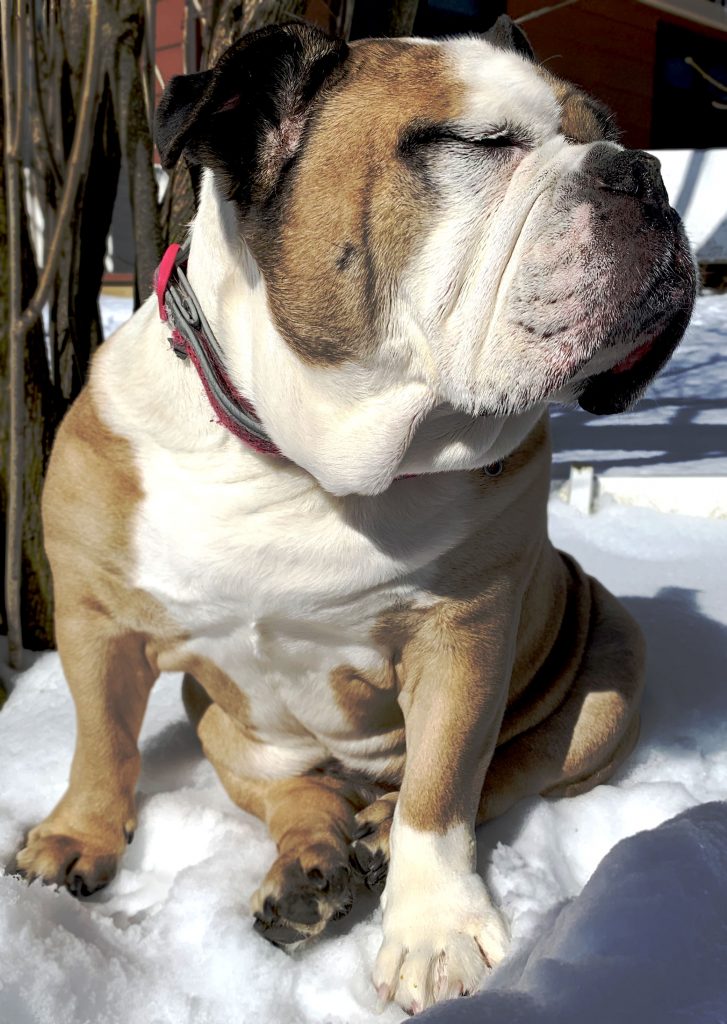
The touched up image is on the right and the original is on the left. Both images were captured using my iPhone XR. I first cropped the image to focus on the main view point. Then I blurred out the unnecessary background and increased the vibrance and saturation to make the brown stand out and look more sharp. I also added highlight to brighten up the snow and a portion of her face.
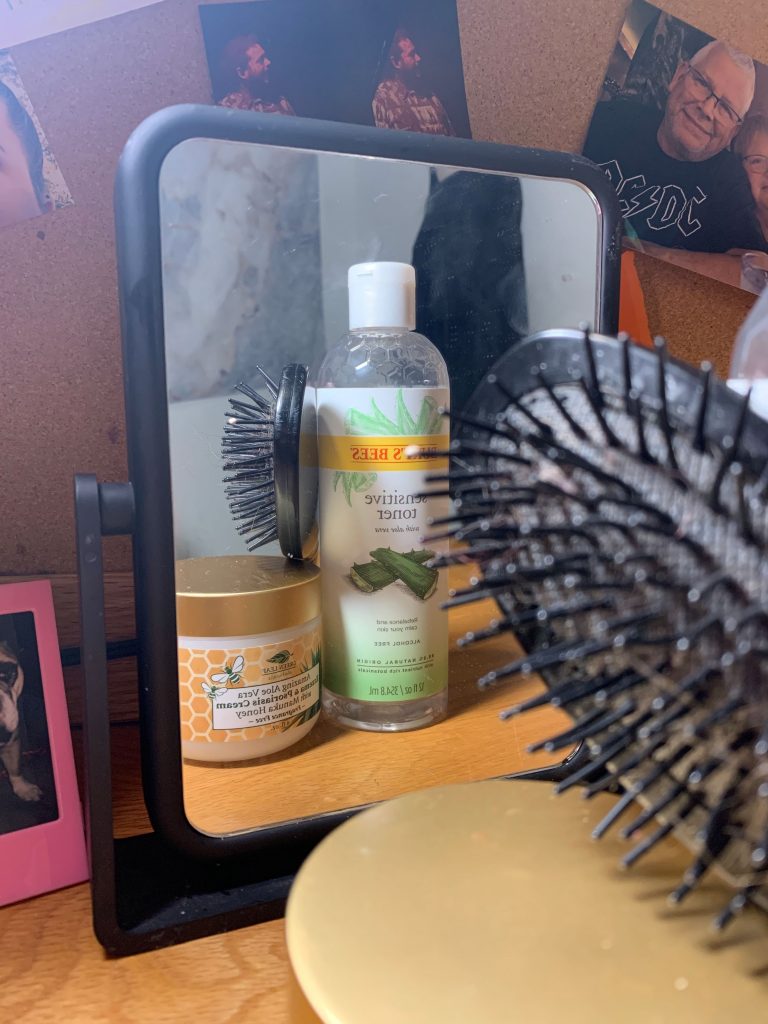
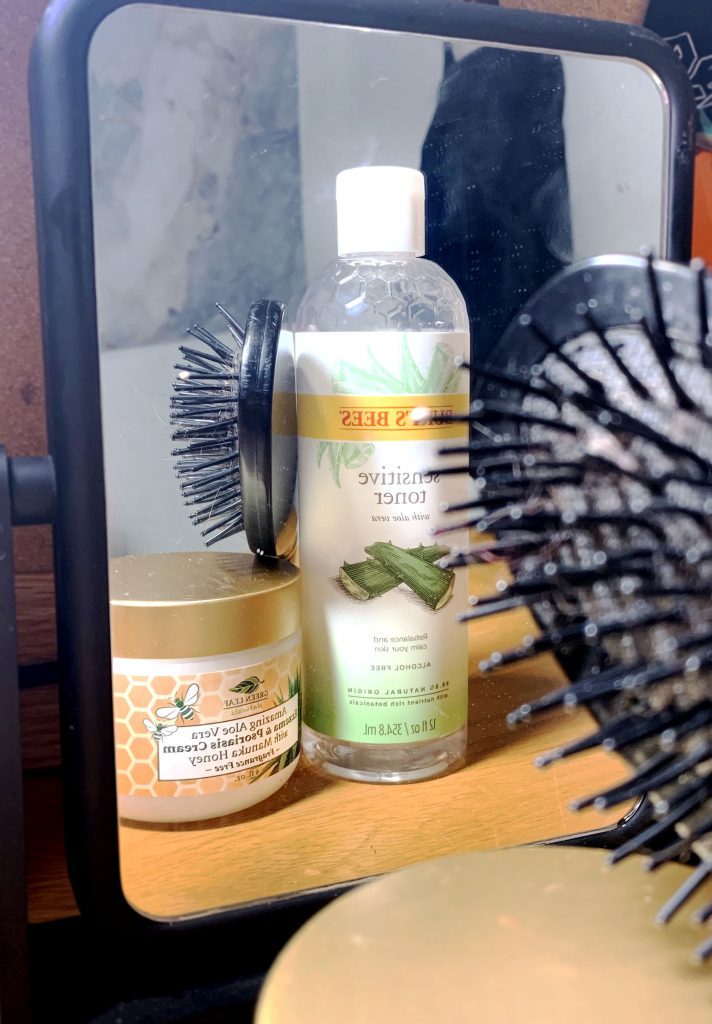
Again, both photos were captured on my iPhone XR. I took the original(left) and cropped it to focus on the main object. I also brightened it up to draw the eye right to the product. The touched up image could be touched up more since there are imperfections of the mirror and the brush could be touched up also.
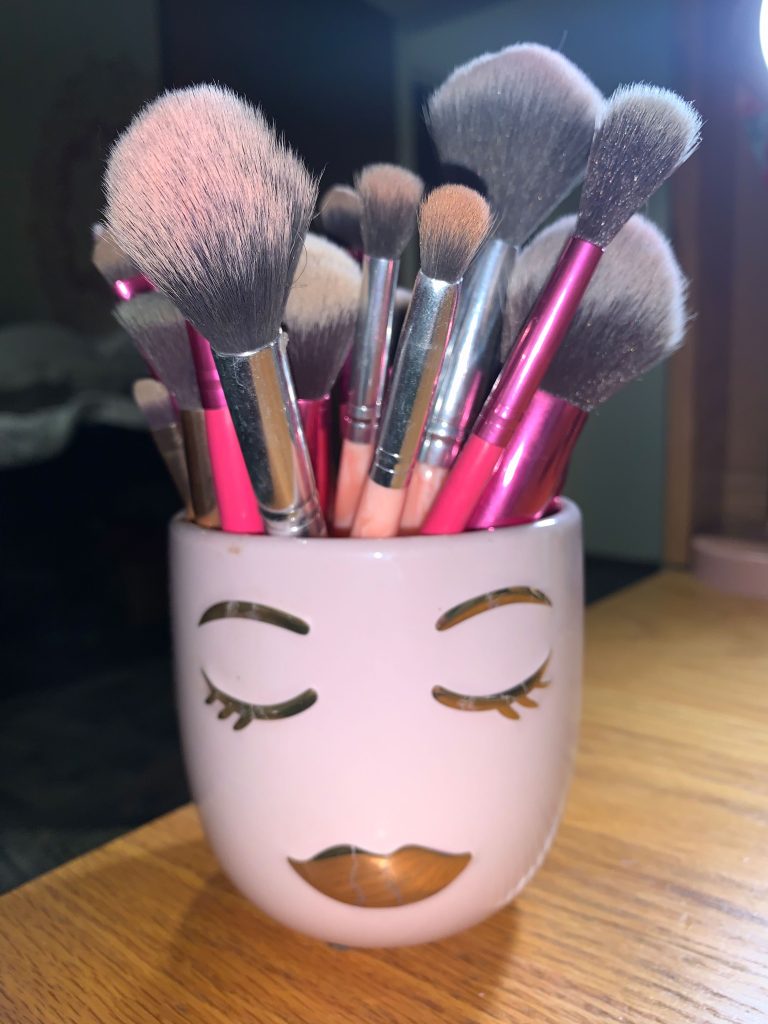
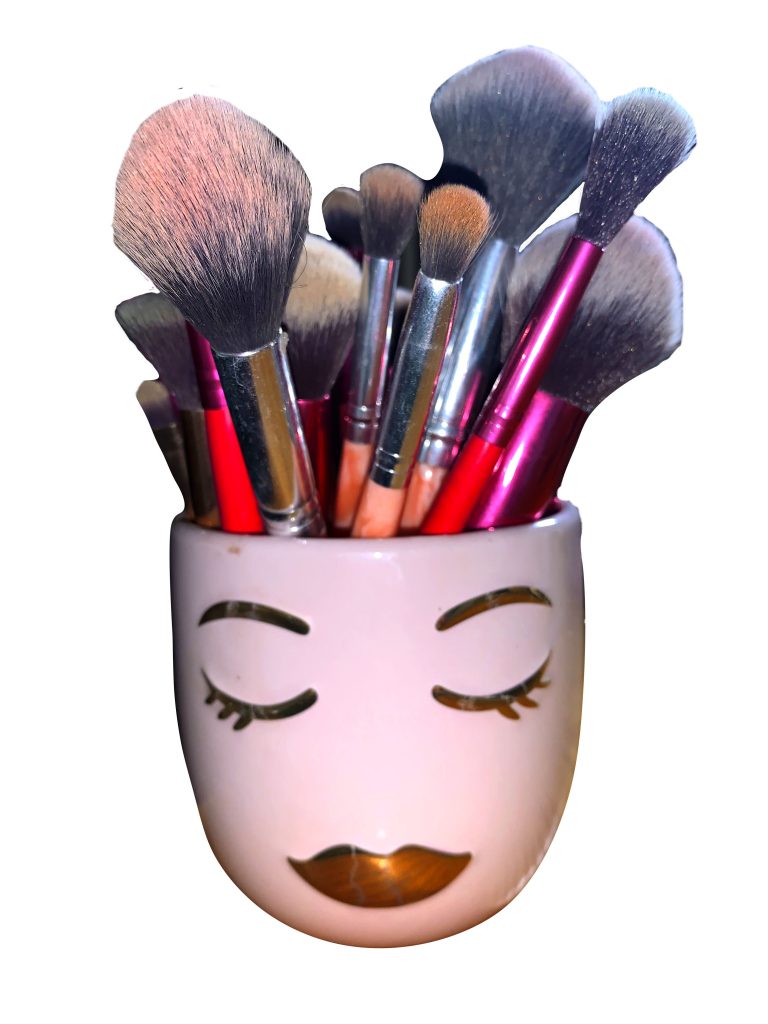
After I do my face and hair I go back and do my makeup. Both photos were taken with my iPhone XR. The left image(original) is more pleasing to look at than the image I edited in photoshop (right image). The reason for this is because I added too much saturation to the new image. The way the brushes are in the vase, I thought I would try to remove the background and remove some brushes that were not needed. I could remove more to give some brushes a more ‘wow’ factor to define them more. This was the first image I have removed the background from. With time and practice I am sure I with achieve a better sense on how to clean the image up without the background.
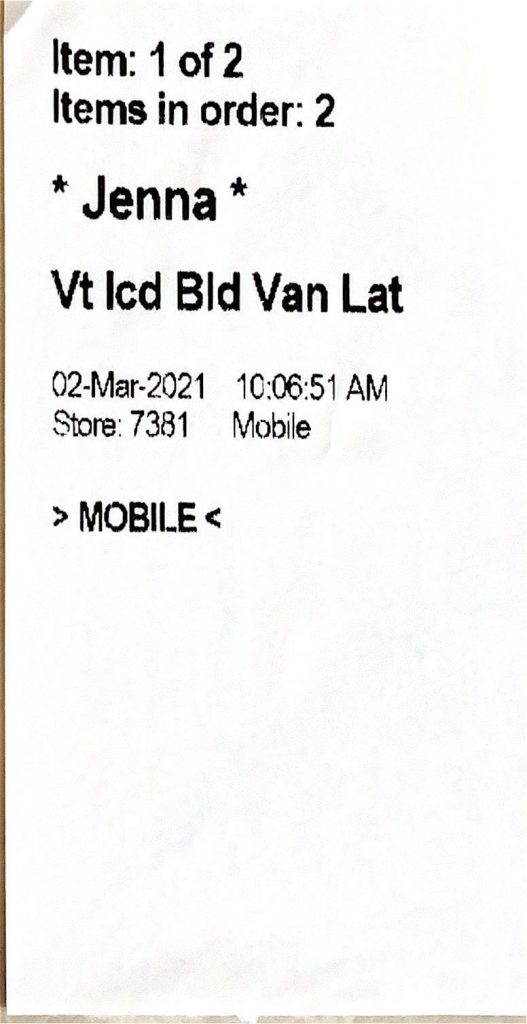
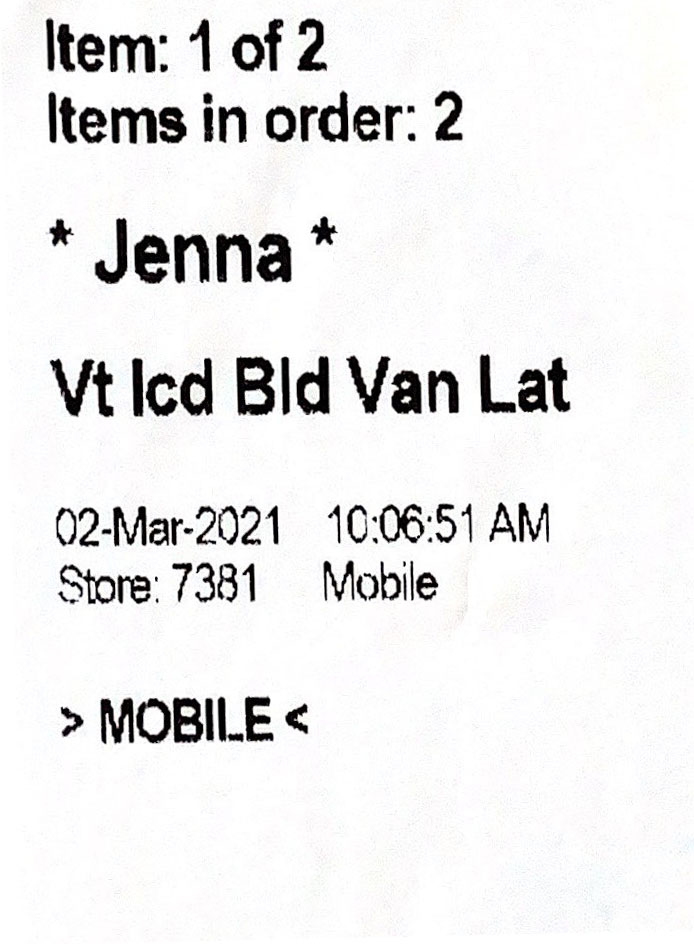
I ordered my coffee online and took the tag off of the side to scan it into my computer. The scanner makes the white and black really stand out compared to taking a picture. I tired to crop out the background and straighten the image up, but after posting it to here, the touched up image (right) does not look as proper as it does in the original scanned image.
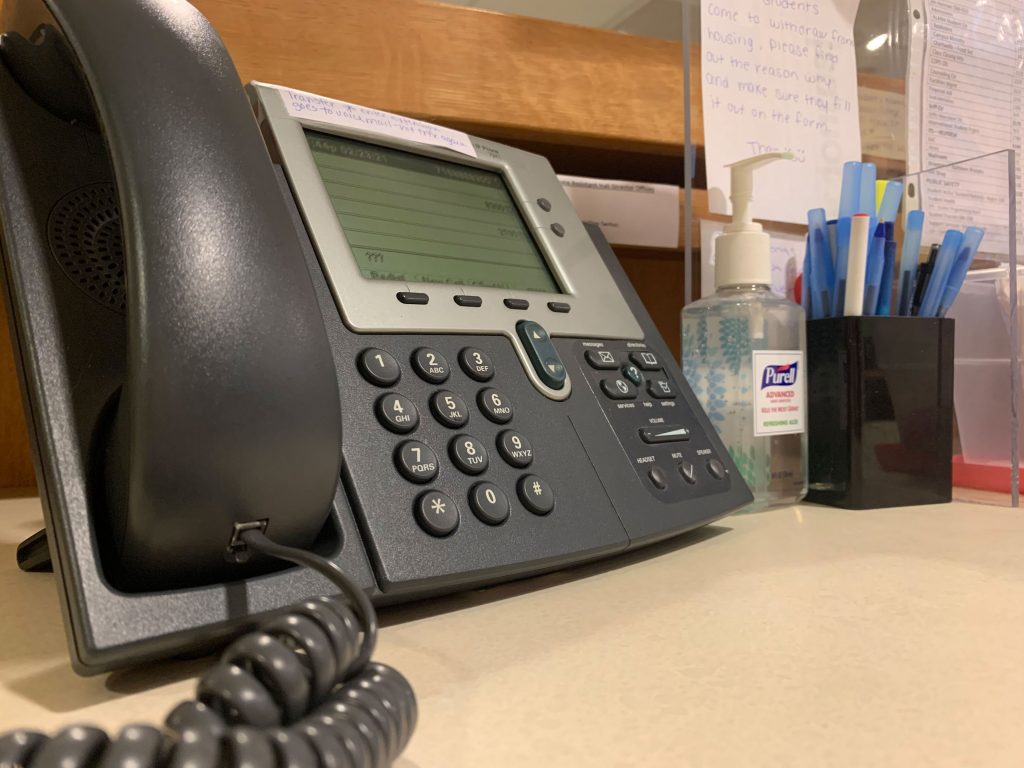
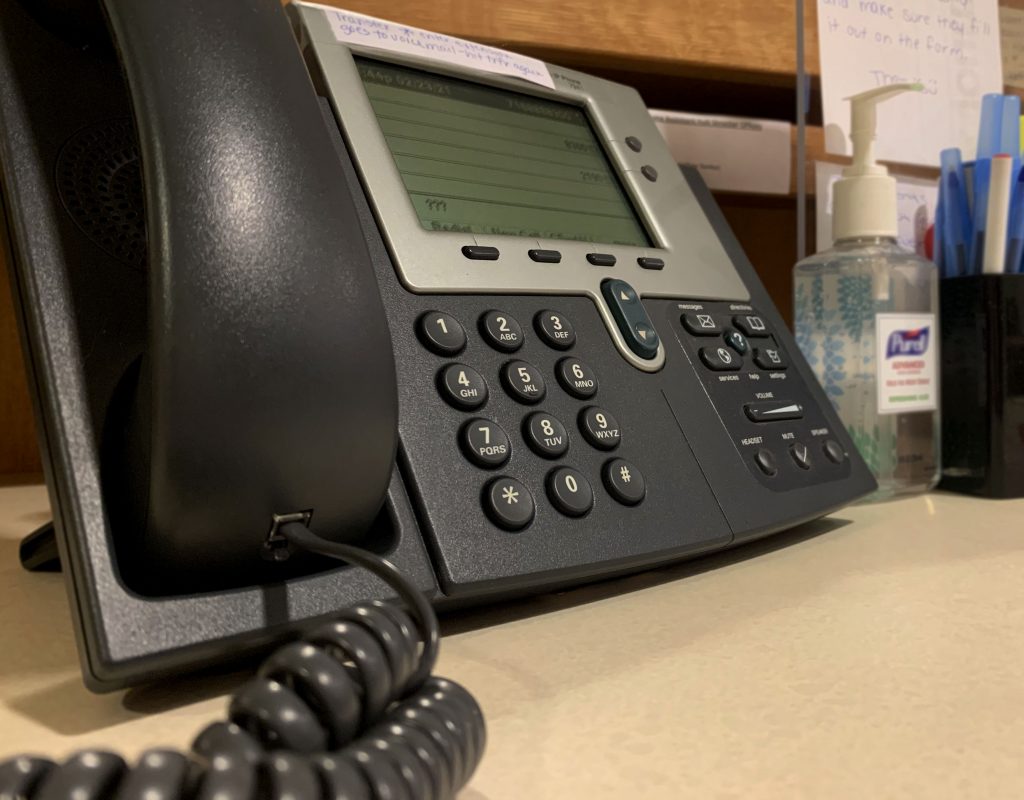
I typically go to work for a few hours everyday in the student life office on campus. The original image is to the left while the touched up on is to the right. Both were taken with my iPhone XR. To enhance the original image I cropped the image, blurred the essentials in the back of the image and increase the saturation. Both images look similar, but the touched up image does grab my eye more.
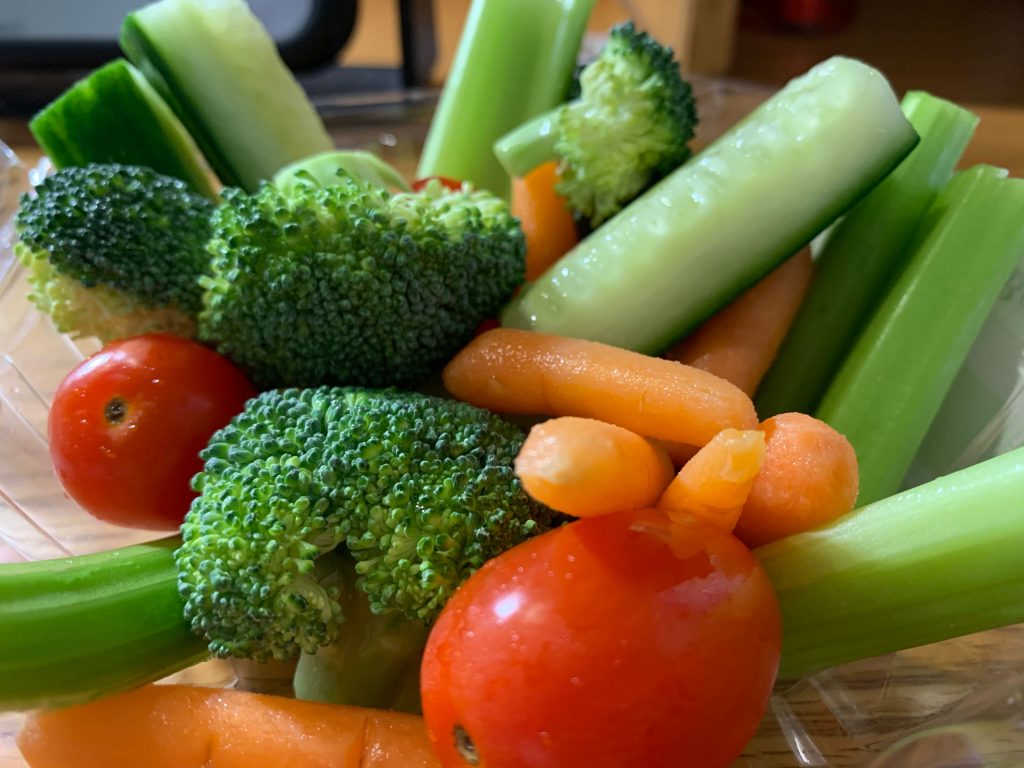
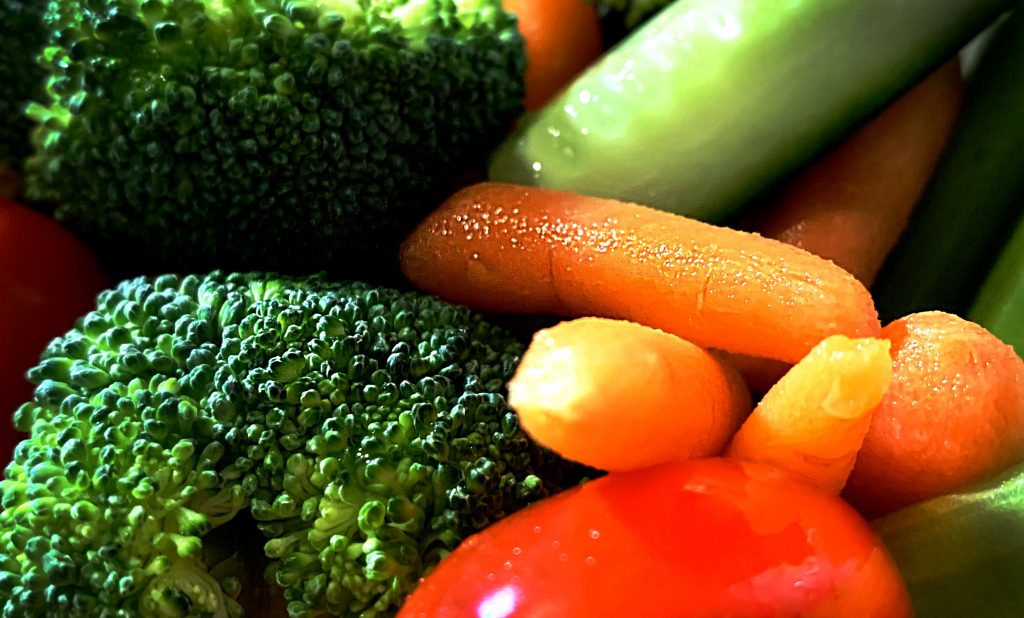
I take a few minutes to myself to eat some lunch or a snack consisting of usually vegetables. To edit the original image (left) I cropped the image by zooming into certain parts of the food. I then increased saturation, sharpness, and added some highlight.
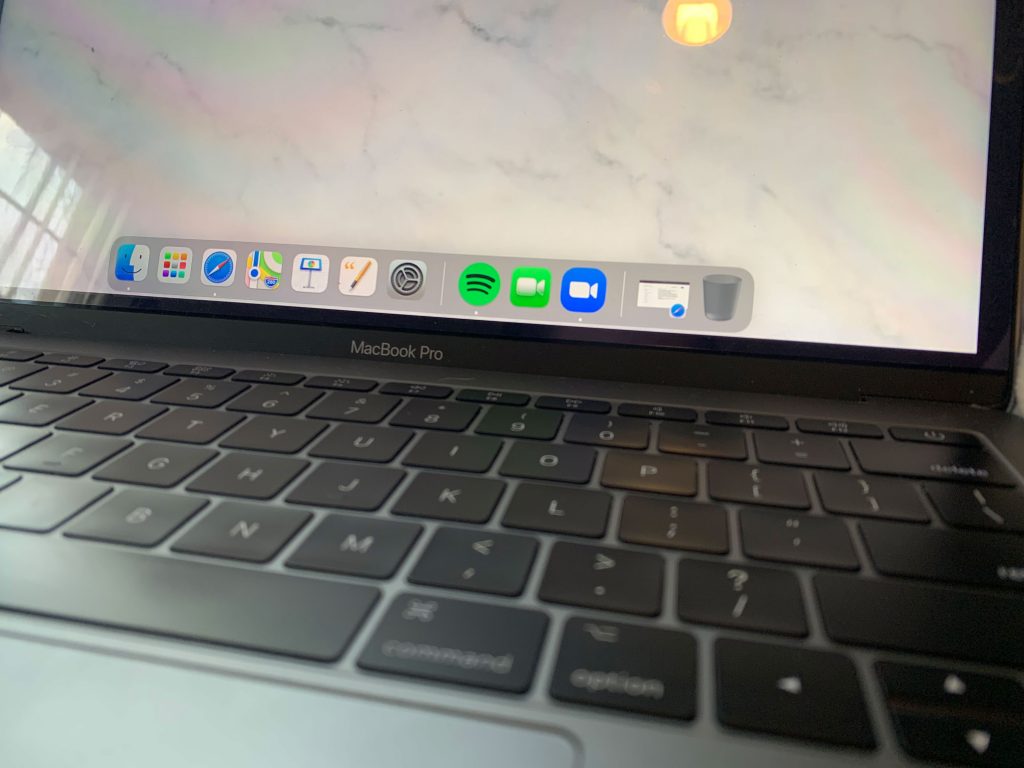
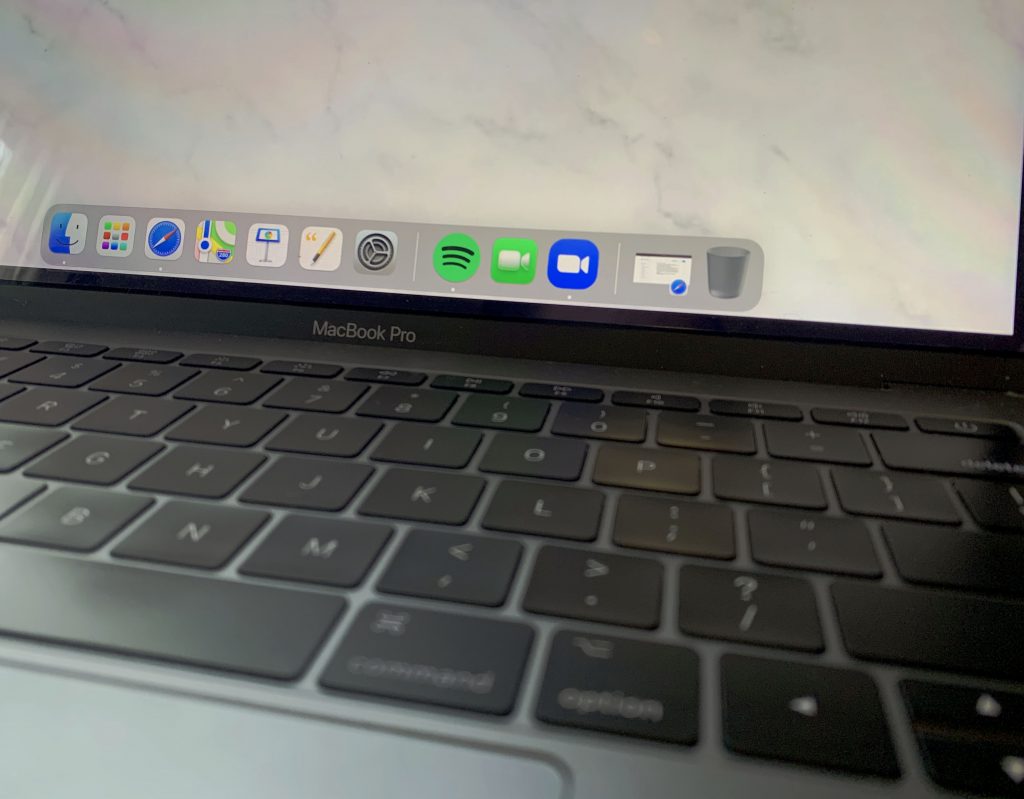
Most of my days are spent on my MacBook where I do all of my work. The above images are not much different from each other. The left Is the original while the right it the touched up image. For this particular image I feel I could do more to it. While I was working on this image I was stuck on how to make it stand out more. I did crop the image so the reflections off the screen would be minimal. I also added saturation to brighten the icons on my laptop. Both picture were taken with my iPhone, so that may be a cause for distortion in the images.
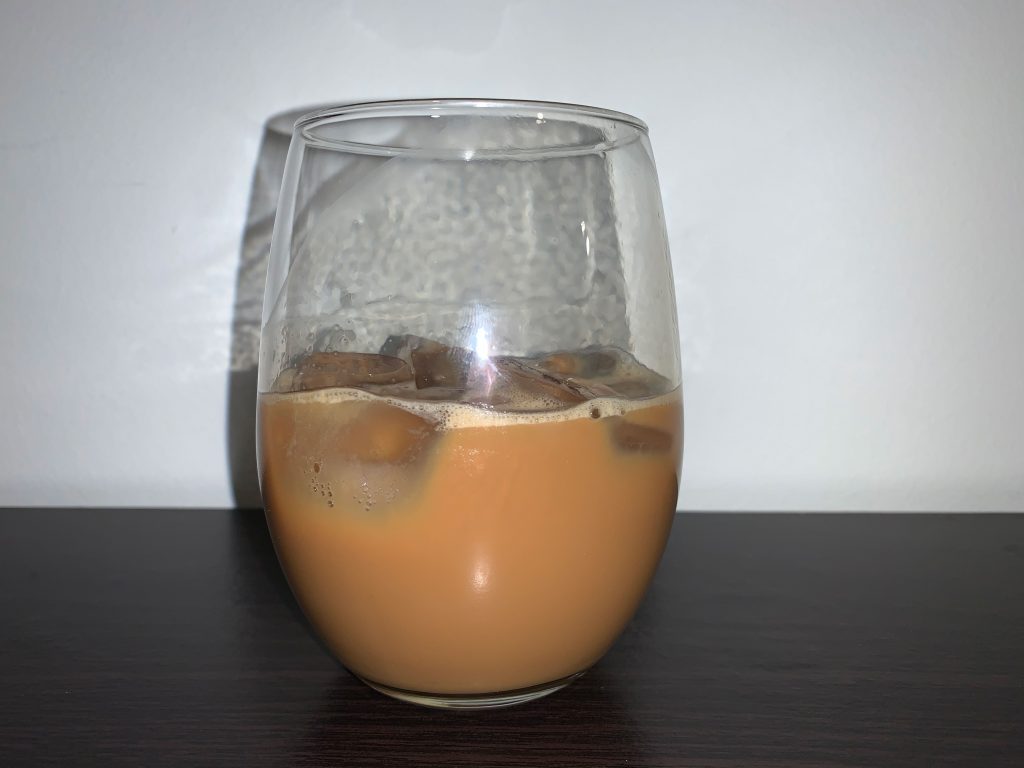
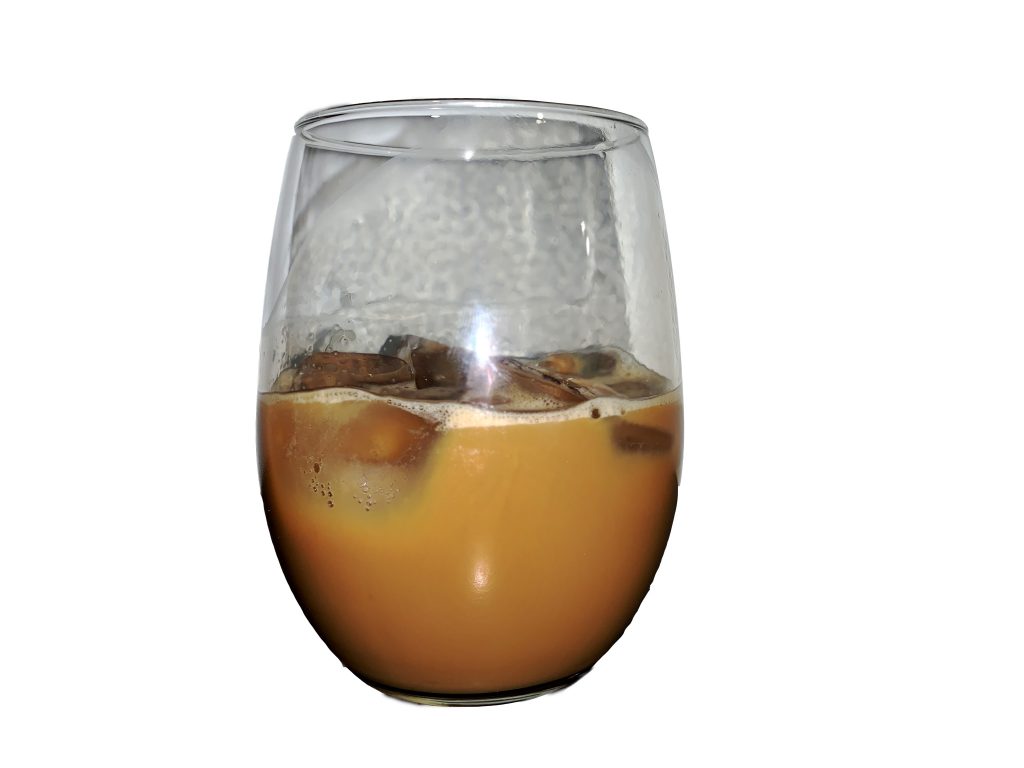
Since I am addicted to coffee I usually make another one while I am working on my homework. For this image, the coffee (espresso over ice) looked picture perfect and a good image to cut out and remove the background. Once I get better I would like to add backgrounds behind my images. As you can notice, in the new image (right) the coffee is darker and has contrast to the bottom of the glass. The Ice at the top looks very “commercial” worthy in the image. The coffee looks like a nice crisp drink on a hot day that you would immediately go for, compared to the original. To fix the image to be better I would remove the shadow from the back of the glass to give a clear representation without any unnecessary distractions.
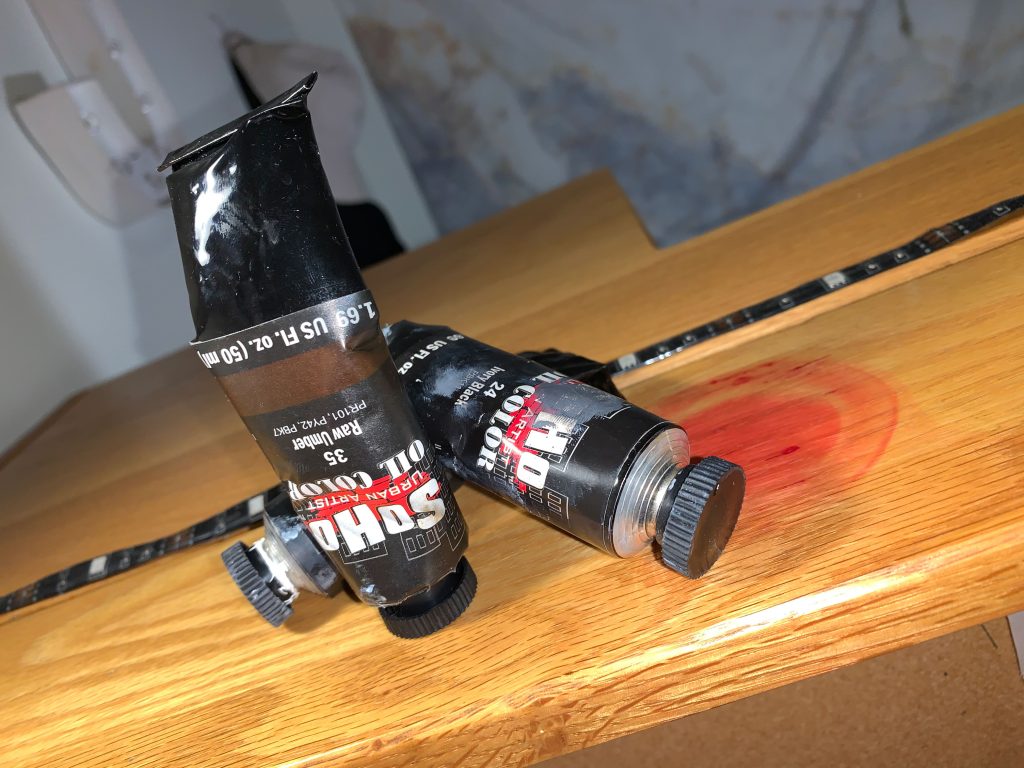
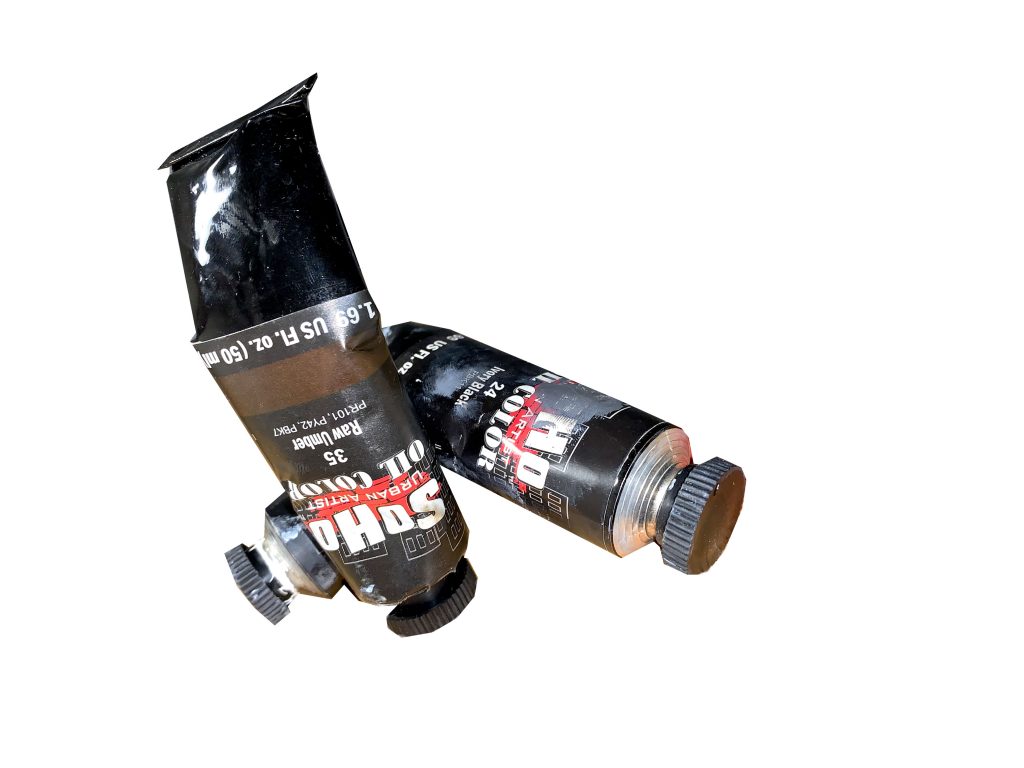
I am taking a painting class that consist only of oil paints. Since the tubes are the shape they are I decided this was also a good image to cut the background out of. As you can notice I am not perfect using the tools, but I used the pen tool and outline the paint and masked it to get my results. The new image is better than original (left) since the only thing you are viewing is the paint itself.
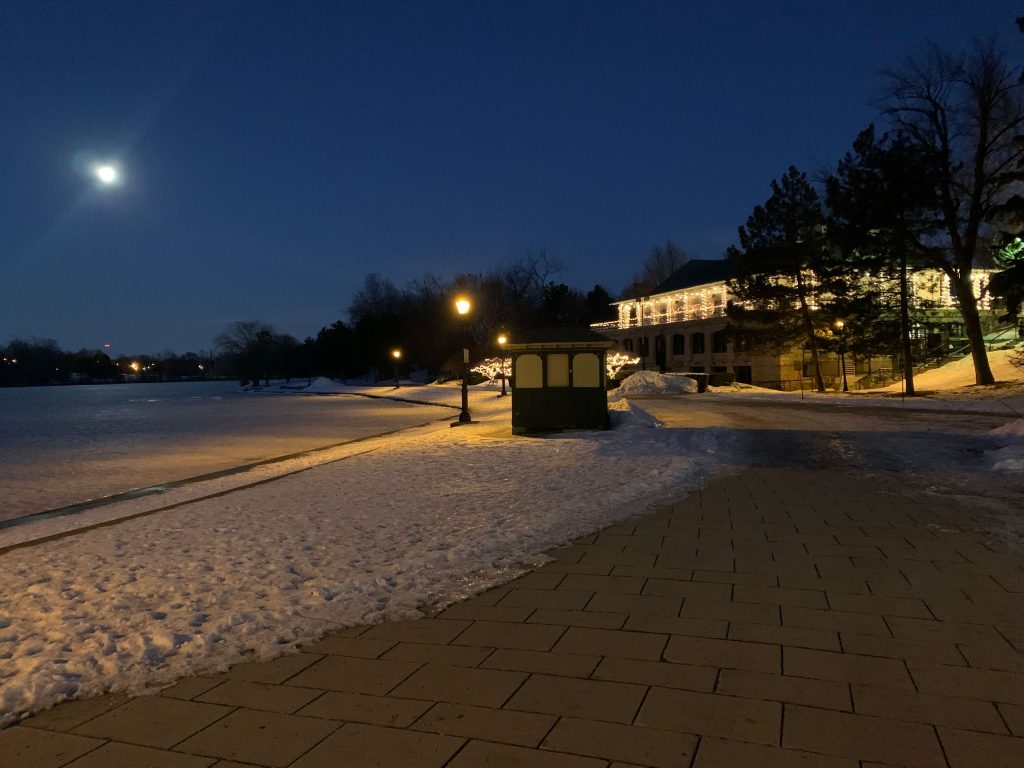
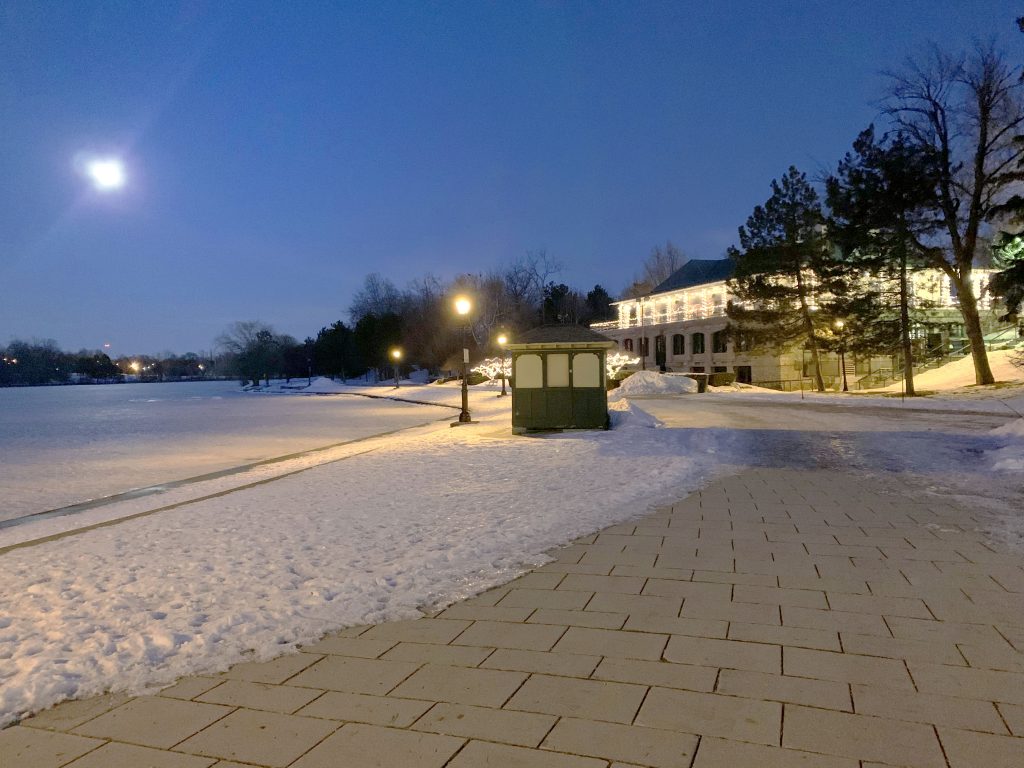
This image is the image with the most drastic change. Both images were captured with my iPhone XR. The left image is the original and the right image is the touched up image. While I went for a walk I new it was perfect to use for my project, but while I opened it in photoshop I was not impressed. The image was overall to dark and gloomy. The mood of the image looks depressing. I wanted to show how pretty the snow is with the scenery of one of my favorite outdoor places in Buffalo. Using the selective color adjustment I was able to change the coloring of the sky to make it birght, and at a little purple and subtle blue. I also used contract to lighten up the snow, the little hut, the lights, and the building in the background. By doing this, it was able to brighten up the image while still being able to tell what time of day it is, but with an uplifting mood.
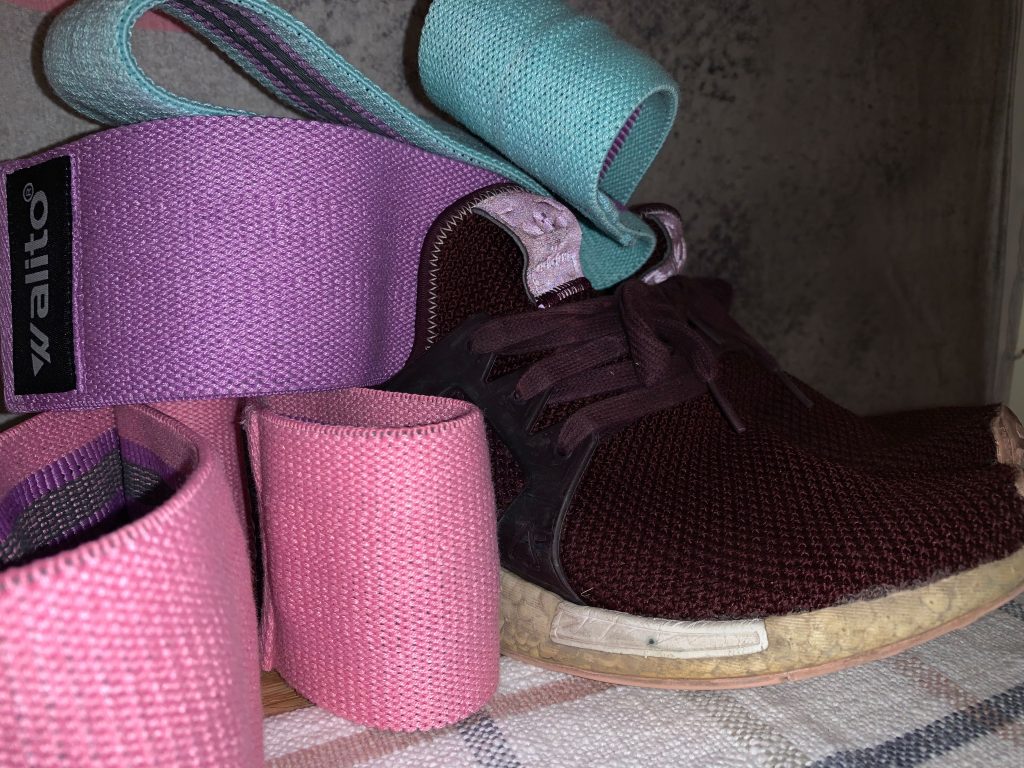
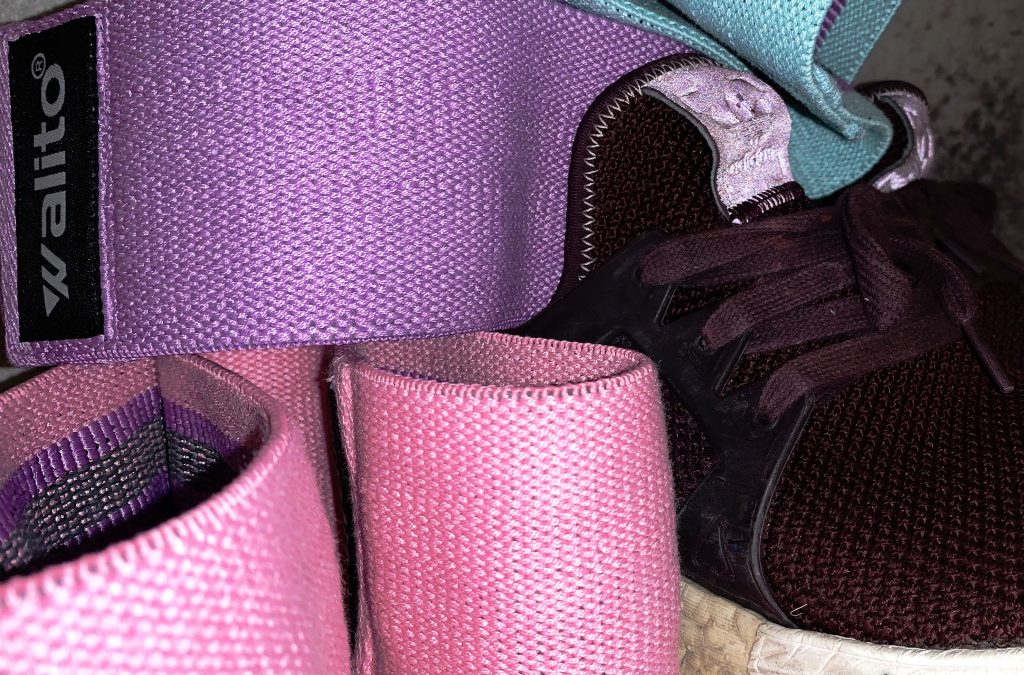
I get ready for the gym by getting my resistance bands and throwing my sneakers on. Both images again are taken with my iPhone. The image to the left is the original that I opened in photoshop, changed the levels and curves, then cropped. For this image I was focusing on the resistance bands since they are a bright exciting color as well as the reflective patch of the sneaker. I used the selective color to enhance the magenta levels of the image and sharpened it up to get the fine details of the resistance bands.
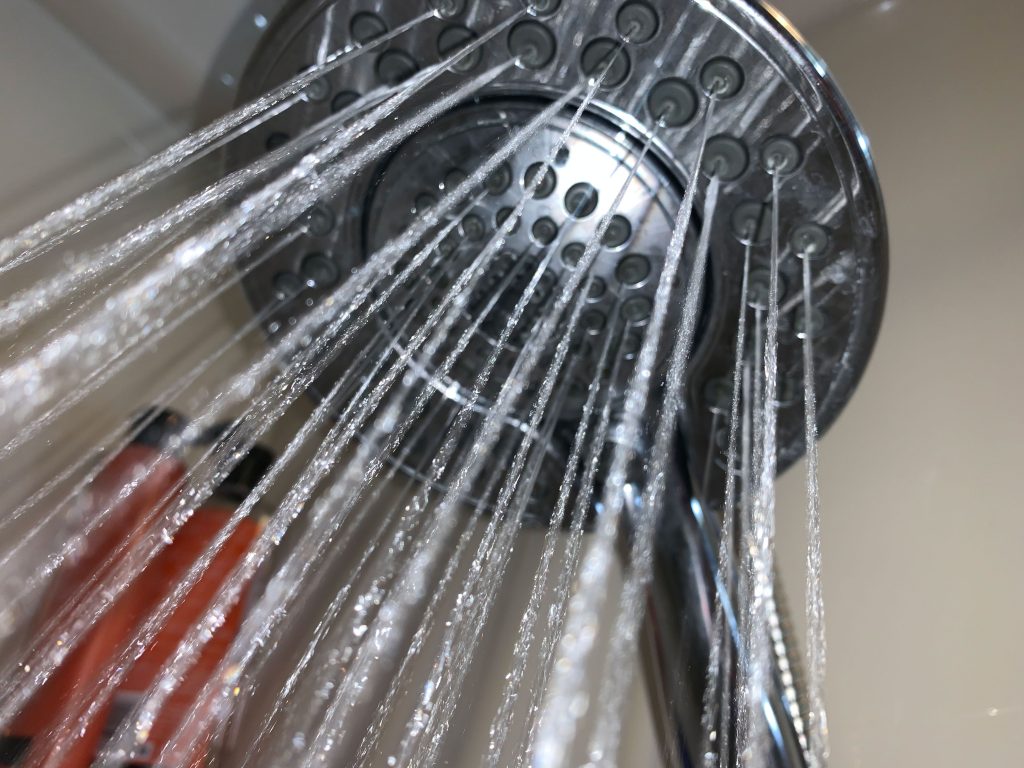
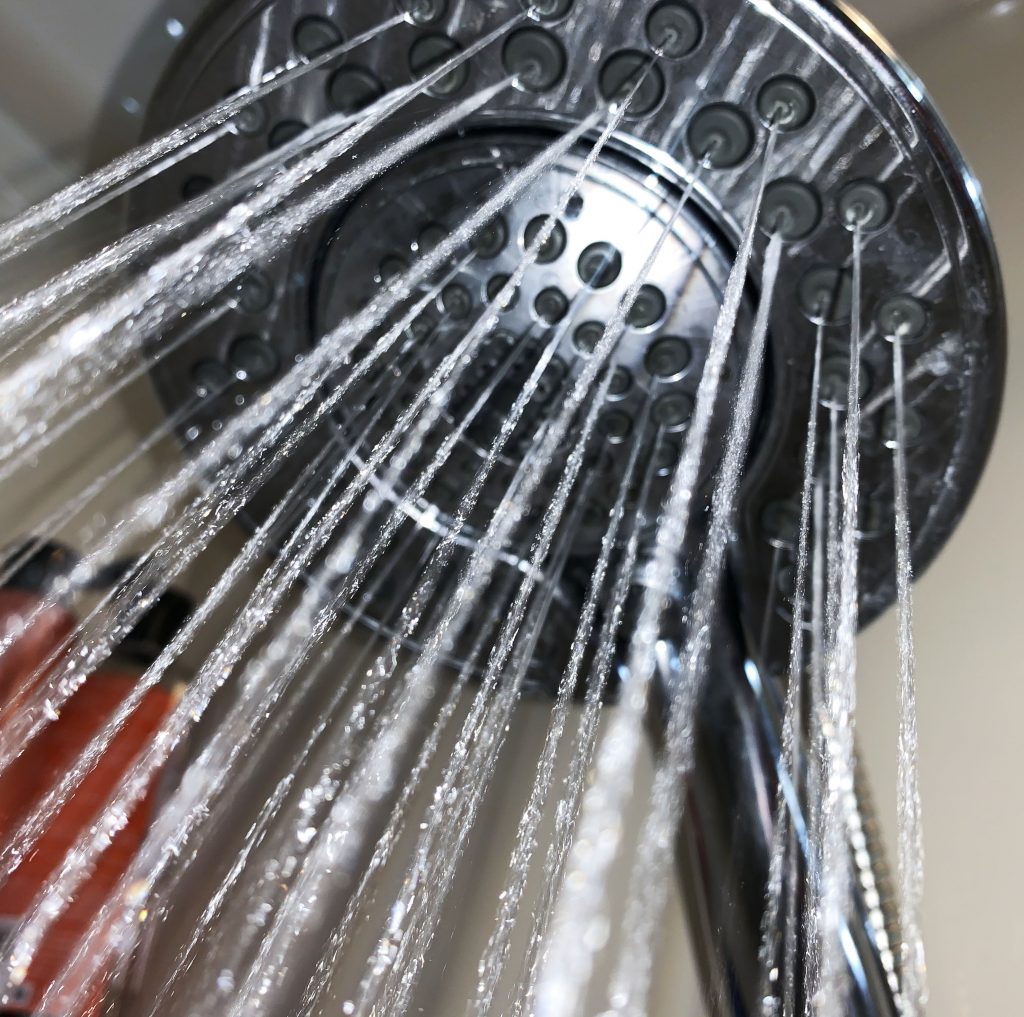
As soon as I get done with my workout I immediately but my tea kettle on and hop in the shower. Both images were captured on my iPhone XR and the original is on the left with the new image on the right. Photos of water are very interesting and satisfying when you are able to see the clear sharp streams of water. To do this I changed the contrast to darken the background and bring light to the water. I was also able to sharpen the water to signify that was the main focus.
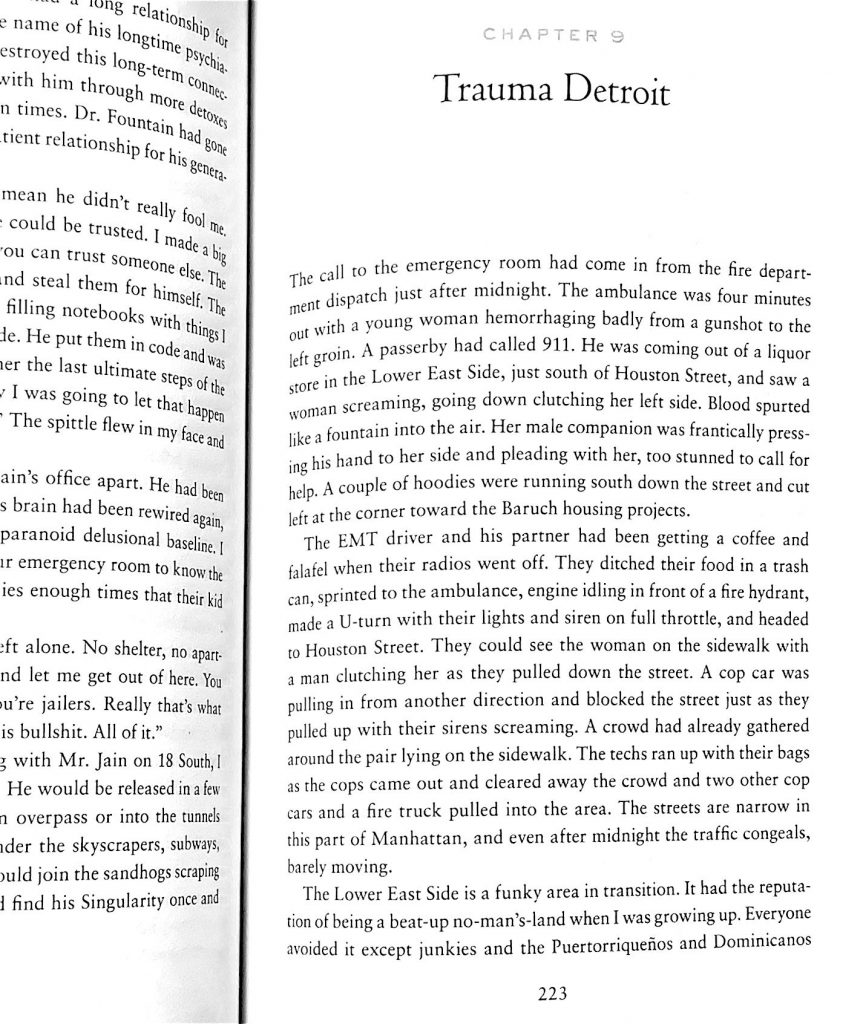
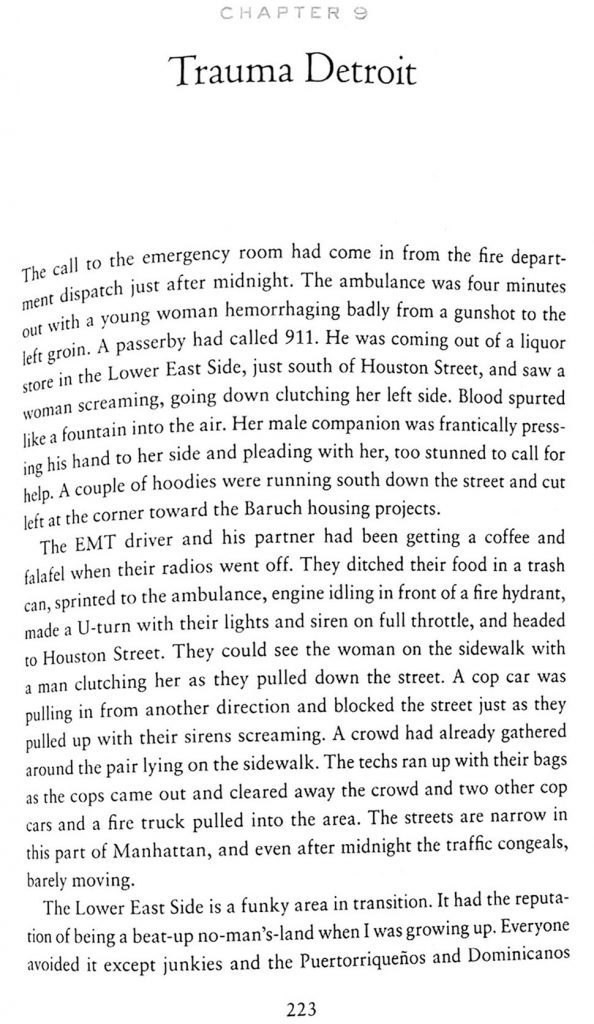
When I get done with my day, to relax I read my current book called Twelve Patients. I scanned the page of the chapter I just started into the scanner. I also did take a picture on my phone originally and you could barley see the words. The scanner creates a very sharp depiction of the book and it honestly is more clear than reading the book itself. To touch it up I cropped the one side to only show the page I was on and tried to straighten it. This is one technique I need to continue to work on since it does not look like I was able to straighten it correctly.
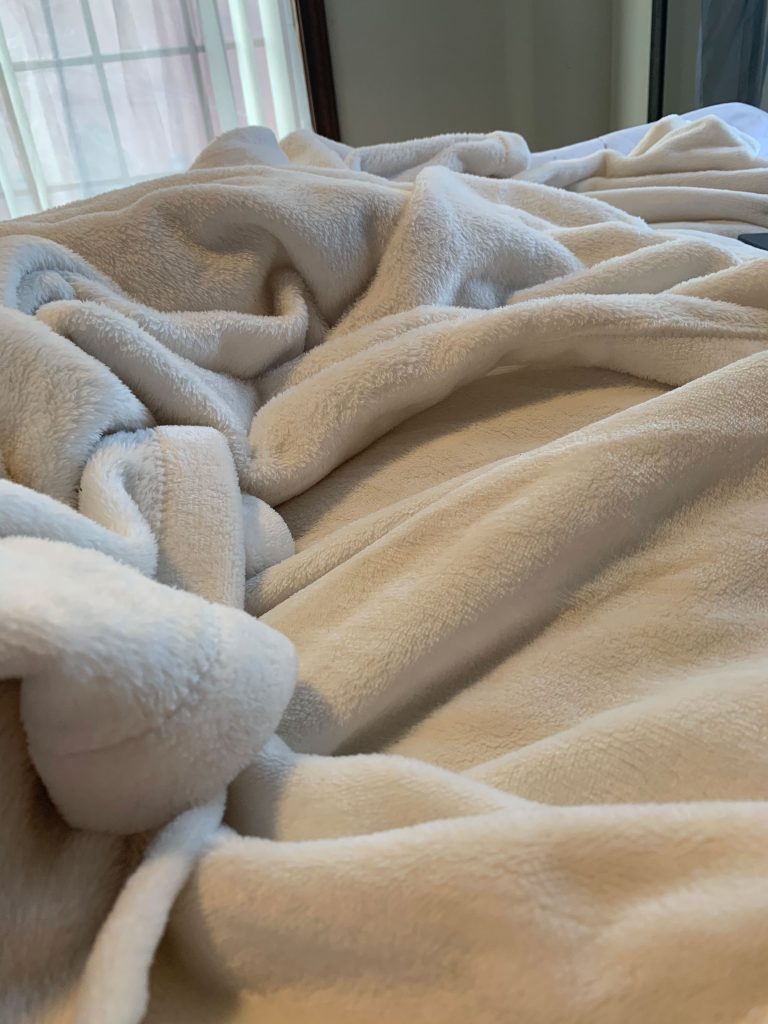
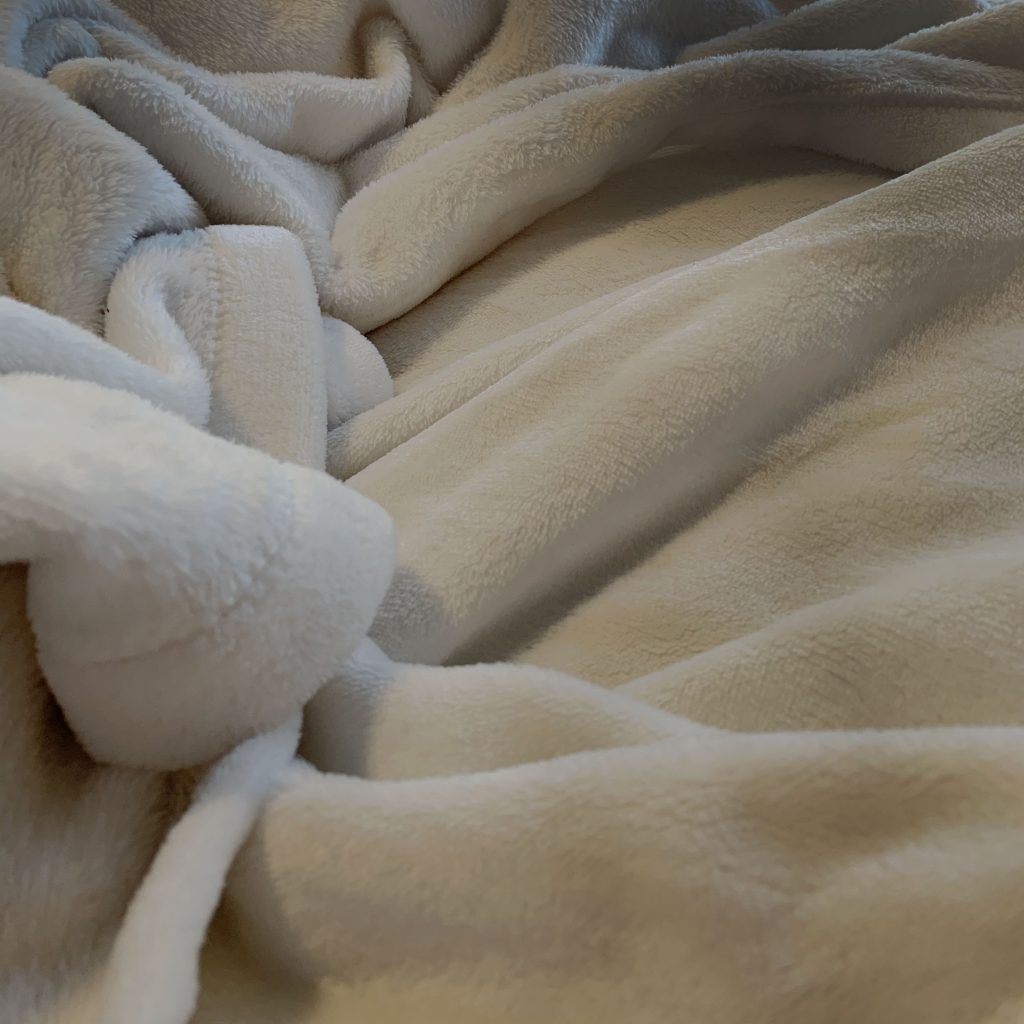
Pictured is the most comfortable blanket ever! Once I am cozy under the blanket my eyes shut until the next day. As you can see the image to the left is the original and you can notice this picture was captured while it was still light outside. To change the mood to a more “night time” scene I took the original image and cropped it to enhance the view of how soft the blanket is. I also used the darkening tool to add dark tones on to the image to look like night. The way the highlight and shadows show on the new image (right) enhance the texture and content of the image.
A few things about this project that I learned was how to remove backgrounds, how to use indesign and how to do thumbnail images with brackets.
Starting out, everything was pretty straightforward and easy, but then it started to get frustrating when indesign was not working correctly and my images in photoshop were not saving correctly. Once I figured everything out, it was pretty simple.
The easiest part was just editing the levels and curves of the photos to enhance them. The hardest part was getting the correct image size and proportions to fit correctly and look correct for each of the credentials.
I definitely could touch up a majority of the above images by spending more time on preparing to take the image and be more tedious when having the image opened in photoshop.
For the next assignment, a more clear outline on what goes where would be appreciated, since I personally did not realize the difference between the web, print, and thumbnail images and what we do with them and where they go.
Learning the different techniques will defiantly help future assignments by improving my skills of photoshop to alter my images to the best of my ability. Having zoom meetings, being shown the step by step instructions really helped my understanding.
