For lab 3, our task was to modify the pictures we took for our previous lab. This lab was more challenging than the previous lab as we dug deeper into photoshops features. My submission could be improved by modifying the contrast a little more to make the image stand out. The professor can improve this lab by allowing us to be a little more creative with these images. These skills can be applied to future labs and projects as it is beneficial to know how to modify an image to make it look better. The original and modified scanned images can be seen below.
My name is Matthew Bogacki and I am currently a junior at Canisius College studying computer science. With technology advancing everyday, I would like to contribute by working in a technology based field. I am considering being involved with cyber security because of how interesting it is. It is also in high demand in todays world as mostly everything can be done electronically. Outside of school, I love to travel and play hockey.
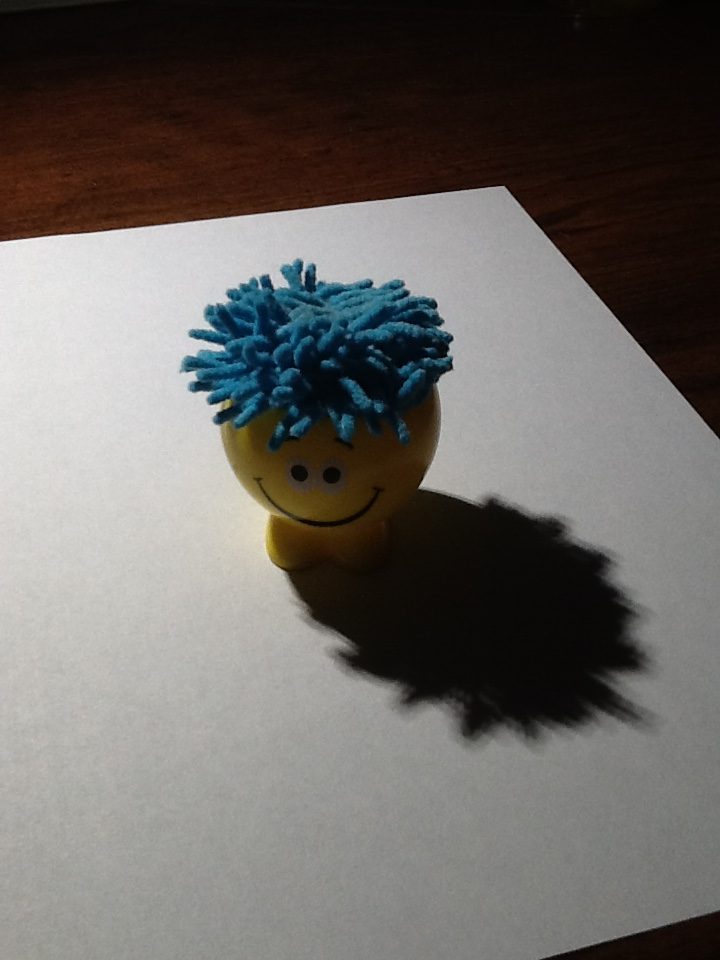
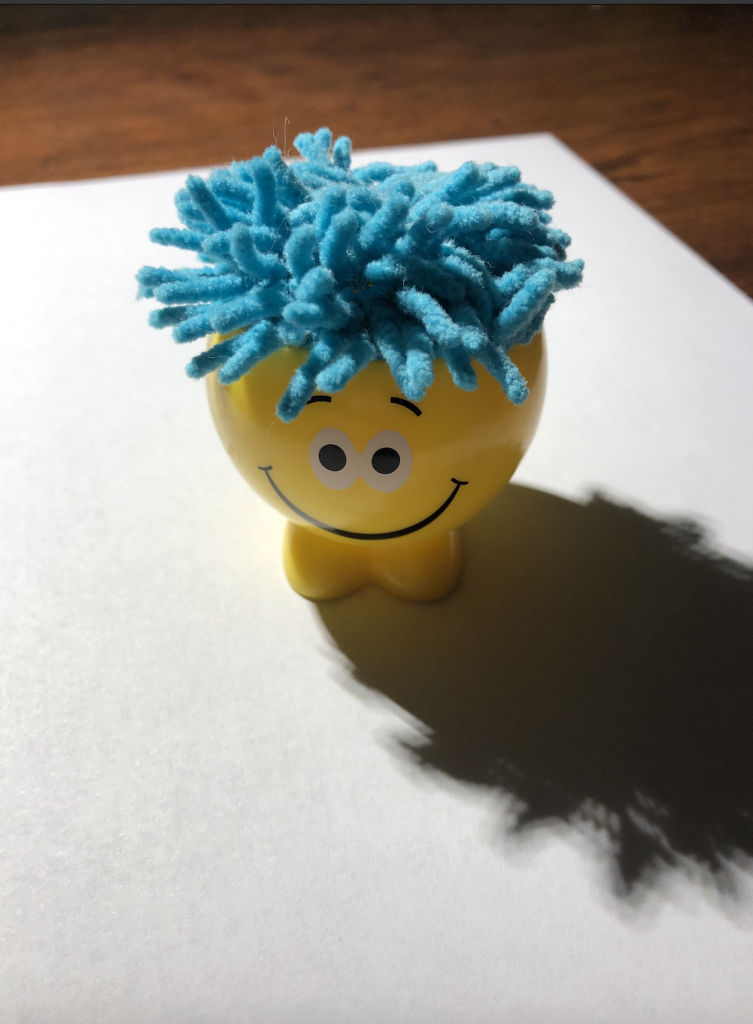
This photo was taken from a second generation iPad that only has a .7 megapixel camera. It is easy to notice that the image does not have much detail especially in the hair. You can see the general object, but you can not notice the small details because it is grainy. It also appears to be darker than it actually is in real life.
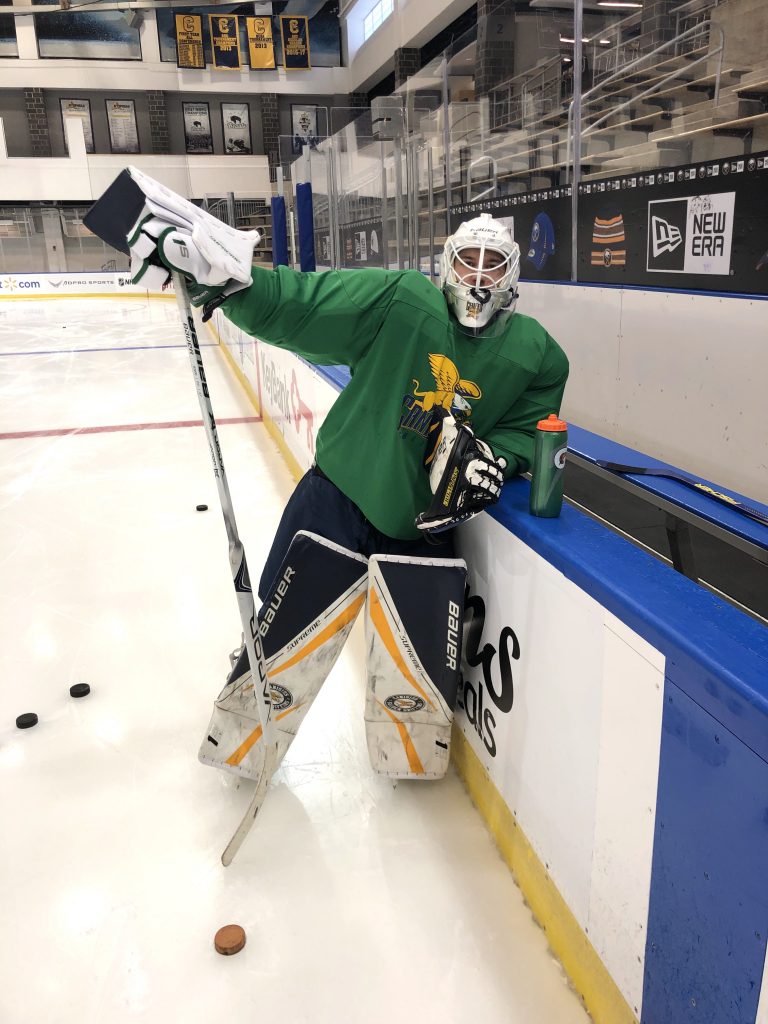
Photo Taken From High End Camera
This picture was taken on a Canon T7i DSLR camera. The picture is much brighter and more detailed than the one taken on the iPad. If you focus in on the hair in this image, you can see much more detail. You can even tell what material it is made out of.
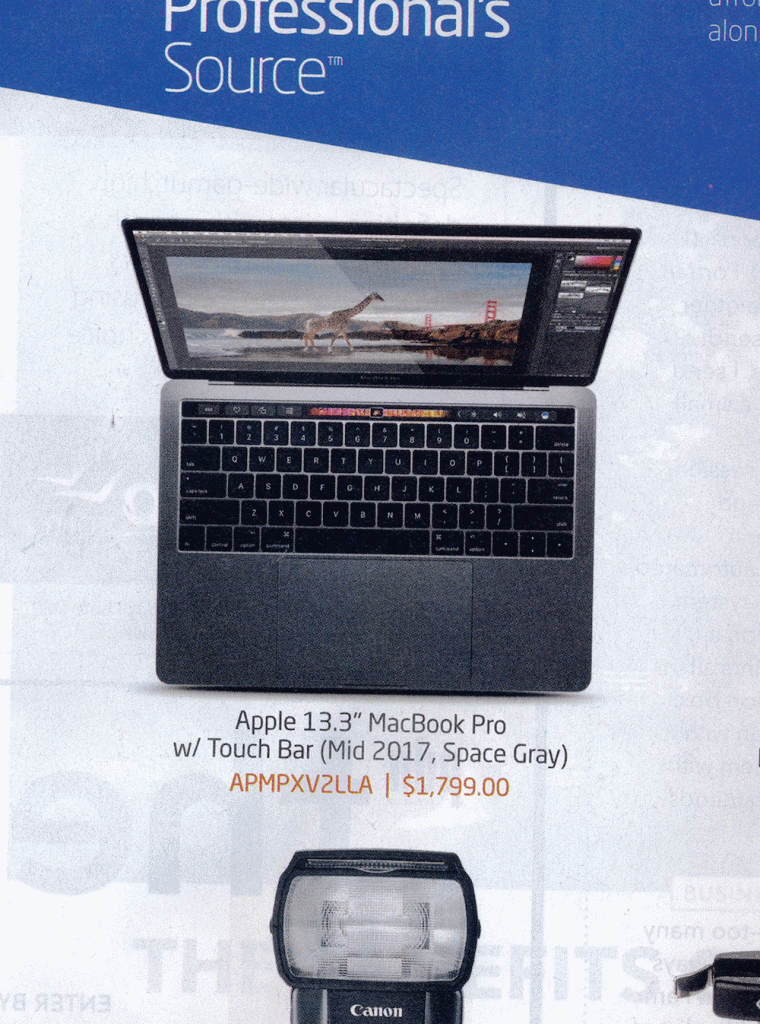
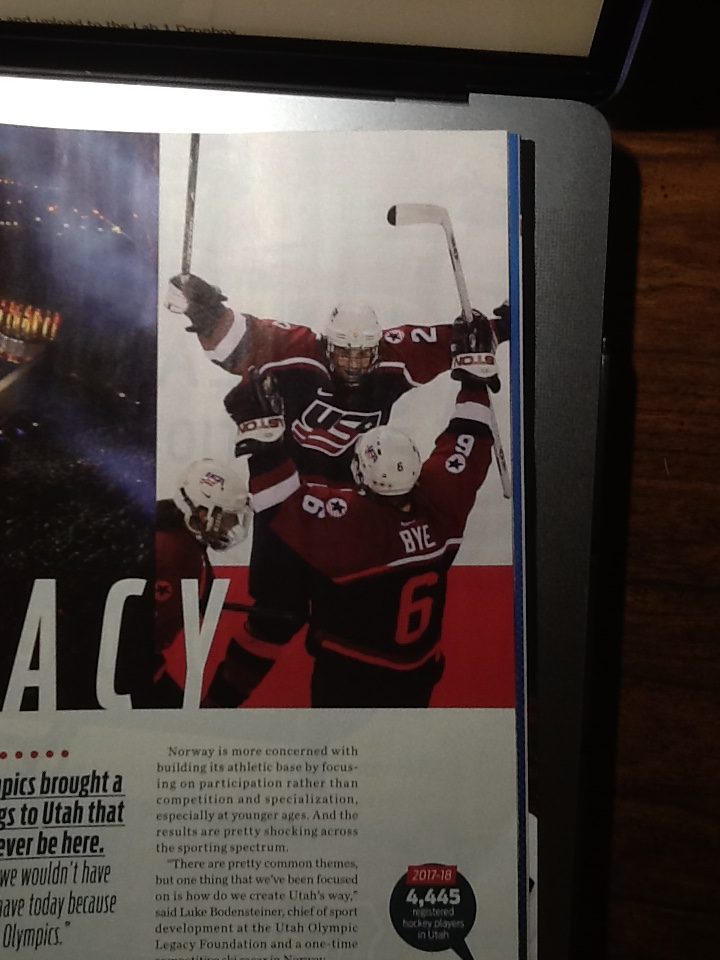
Image from Magazine using Low End Camera
Image from Magazine using High End Camera
The same can be said about these photos taken from a magazine. The one taken from a DSLR is much brighter and the test is clearer.
Using a Scanner to Scan Images
For these scanned images, the resolution is pretty good. However the images could seem a bit faded compared to viewing them in person. When scanning these items, there is an option. to change the resolution and the image size. The higher the resolution, the higher the memory size will be. The same goes for the size of the image.
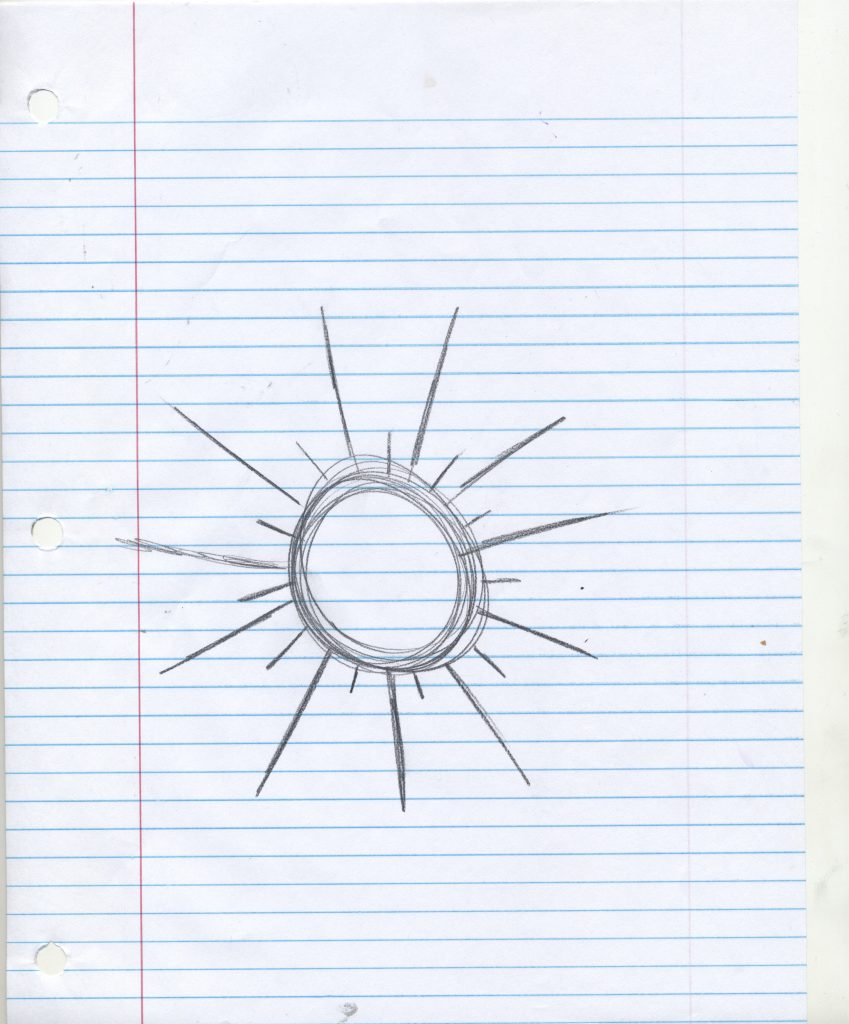
Scanned Drawing
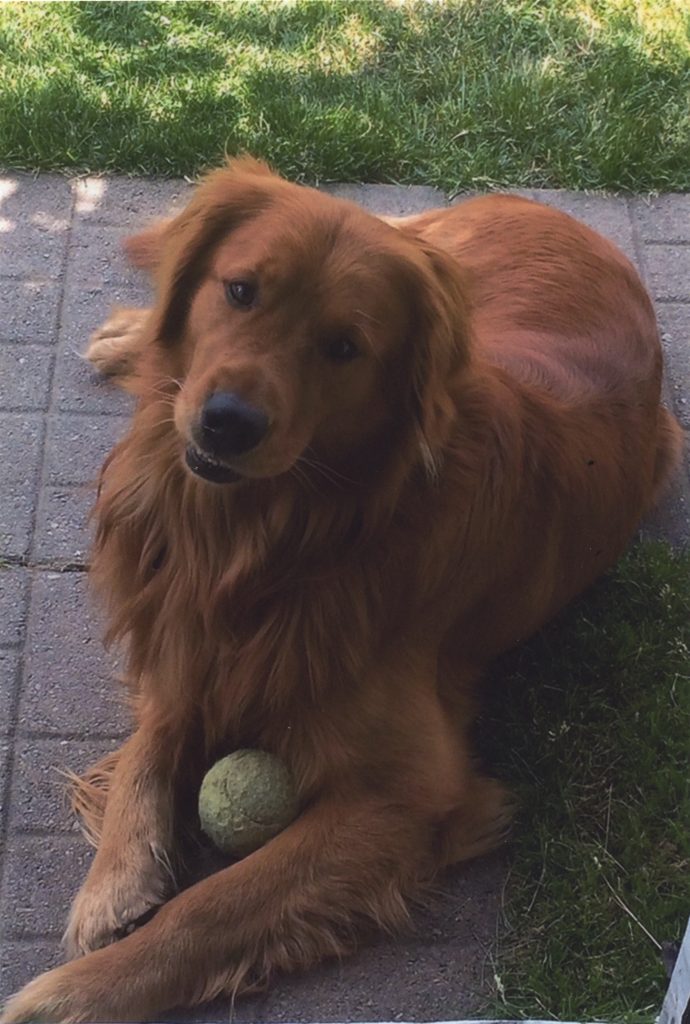
Scanned Photograph
Photoshopped image
For this image, I used dimensions that would be ideal for a phone or tablet. It has a width of seven inches and height of five inches. This is because in todays world, it is common to visit a website on a phone or tablet due to its efficiency.
This lab was pretty simple as we had to take and scan a couple pictures making it not very challenging. I learned that the iPad I own only has a .7 megapixel camera. It was much different than a higher end camera. This lab could be improved by taking pictures in a studio with controlled lighting. This would help with improving the picture quality overall. The professor could improve this lab by giving an option on what camera to use. DSLR cameras are obviously great, but there are also phones out there that shoot great photos in 12 megapixels. I can apply these simple skills in upcoming labs and projects. Taking clear picture is key to a great project.
For this project, our task was to take many short videos to create one small film. I learned several things throughout this project including how to use Premier Pro and GarageBand. In order to edit the videos I took, I needed to use Premier Pro to edit them. I learned how to change the speed of a video, add effects, and add music. GarageBand was used to create the music used in my project. I used a combination of my iPhone and GoPro to take all of the videos seen in this project. I also used a stabilizer with my GoPro to capture the smooth video as I followed my friend skate down the ice. All videos were set to record at 1080p at 60 frames per second. Parts of this project were harder than others. It was easy to take several videos but it was challenging to use Premier Pro for the first time. As I took more time to work on the project, it became easier to navigate through Premier Pro. My submission could be improved by working on the music more. I would have liked to use some type of music that fit the videos better. One way this assignment could be improved in the future would be to maybe use different software to create music. I feel like GarageBand didn’t really work out as much as I wanted it to. This project also benefits me in the future as it is important to learn how to take a good video and edit it if needed. Using Premier Pro has inspired me for this project because I was familiar with other video editing software, so it was interesting to learn something new.
This project involved using Unity Game Engine to create a basic game. This is a program that I have never used before so it was interesting to explore some of the features it has to offer. I learned how to create a basic game that involved a character to walk through a maze to collect a coin at the end. This involved using multiple tools and assets to create the final game. This project was not too challenging as Unity makes it pretty simple to create whatever you can imagine. However, there were some challenges with this project because of the fact that I was not very familiar with Unity yet. At first, the program looked confusing and I had a hard time finding specific tools needed to make everything in this project possible. As mentioned before, Unity is easy to use for the most part and so it would be fairly easy to improve my submission. I could have added some obstacles or spent more time on the details using assets. One way the professor could improve this project is to perhaps give the students an option to create their own basic game. This would allow students to bring creativity to the next level. This project allows me to apply this knowledge to be a future game designer. Although this didn’t involve any code, it helped introduce the basics of game design. Below is a screenshot to give you a better idea on what Unity looks like and some of the tools it provides to make game design possible.
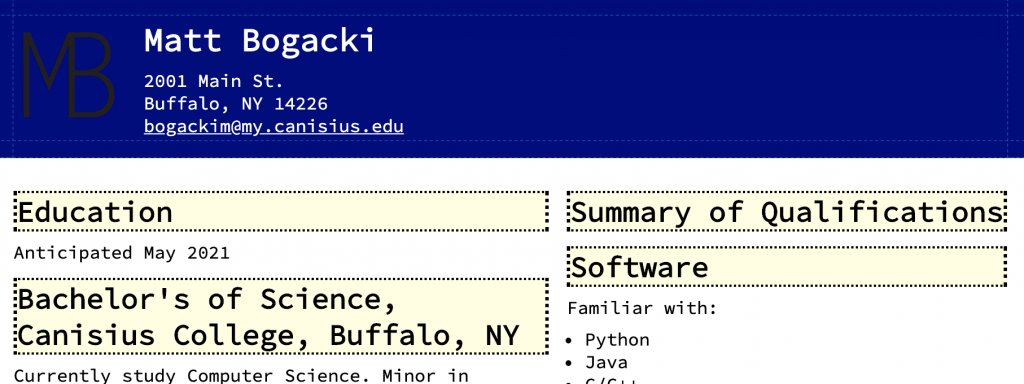
For project two, I learned that you can use code to create a resume. This creates endless possibilities in terms of style and design when creating a resume. The level of difficulty is minimal as we only had to modifying and replace some code to create a personal resume. The most challenging part of this project would be modifying the style of the overall resume. Changing the outline for an example was more challenging than just changing the color of the text. My submission could be improved by spending some more time coding. This would allow me to change the layout and make my resume unique. One way the professor could improve this project is to extend the due date so that students could be more creative with their resumes. One way I could apply my knowledge in the future would be when I create a resume for a job or when I could use code to create something like a resume.
The code below is used to modify the header of the resume.
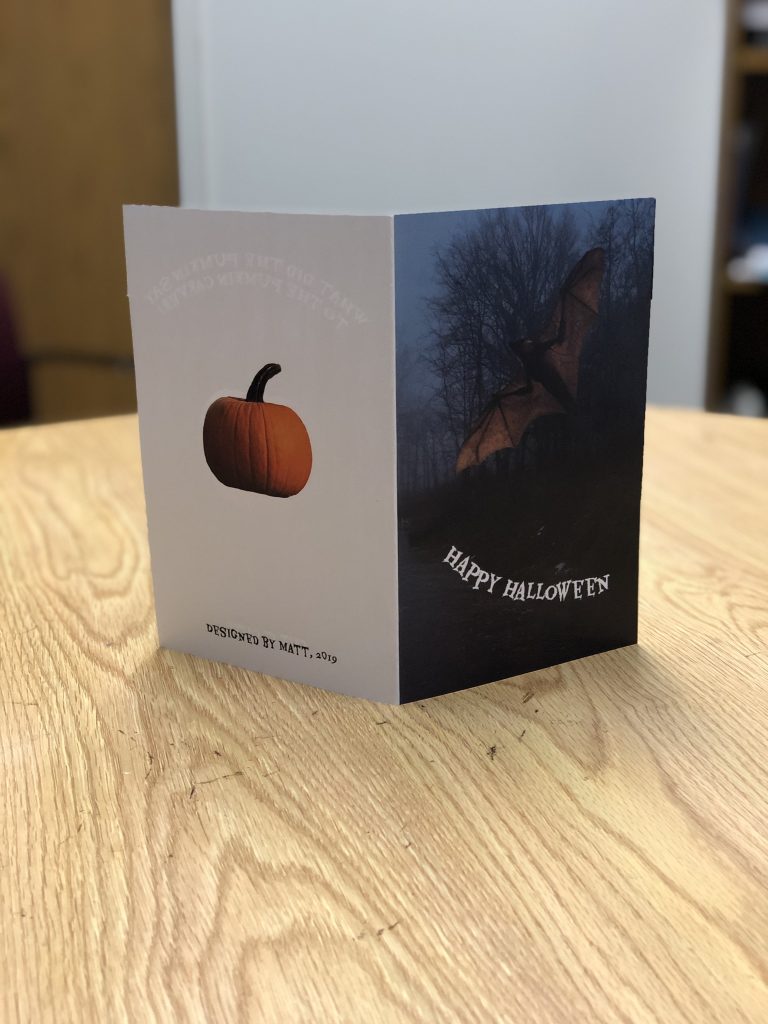
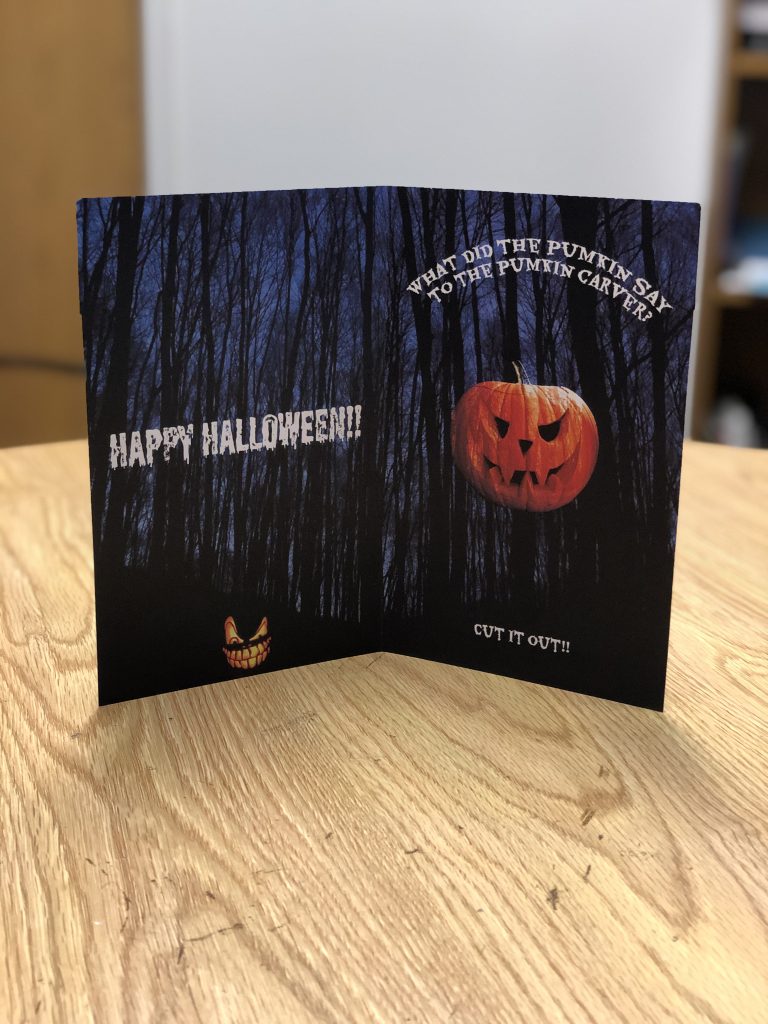
For our first project, we were given a task to create a halloween card. Throughout this project, I have learned several things since it was my first time working with Photoshop. This was something I always had an interest in but never got a chance to mess around with. I learned how to use several essential tools such as the magic eraser and lasso tool as well as other features that photoshop has to offer. Parts of this project were more challenging than others however everything turned out to be manageable. Some ways I could improve my submission would be to add some more creativity. Photoshop gives the user endless possibilities when it comes to creativity with the options/tools it has to offer. One way our professor could improve this project would be to show more features of photoshop so that the project could be taken to the next level. Photoshop is also something I could use in the future. I am a person who loves photography and photoshop will allow me to enhance my pictures. As we were developing the project, we were given several readings to read. I found the reading about fonts to be interesting. Different curves and lines can really express different tones in fonts. Different fonts were used throughout my halloween card as seen below.