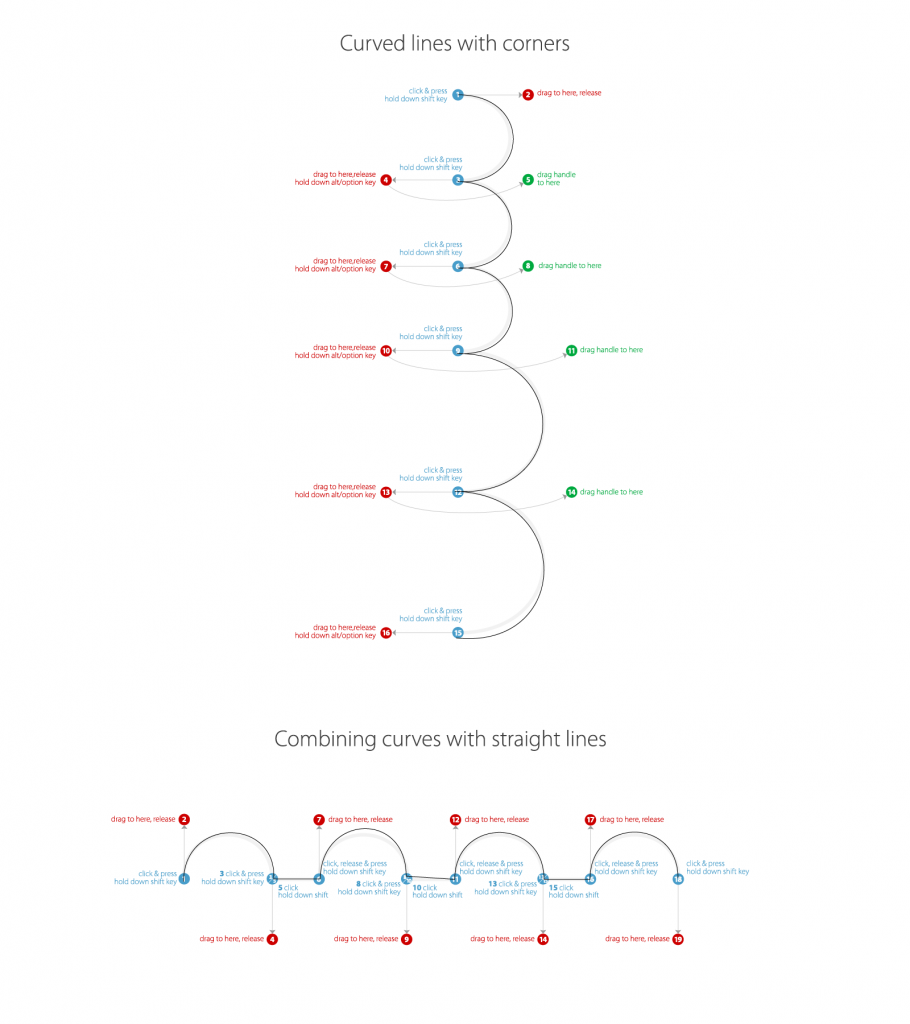
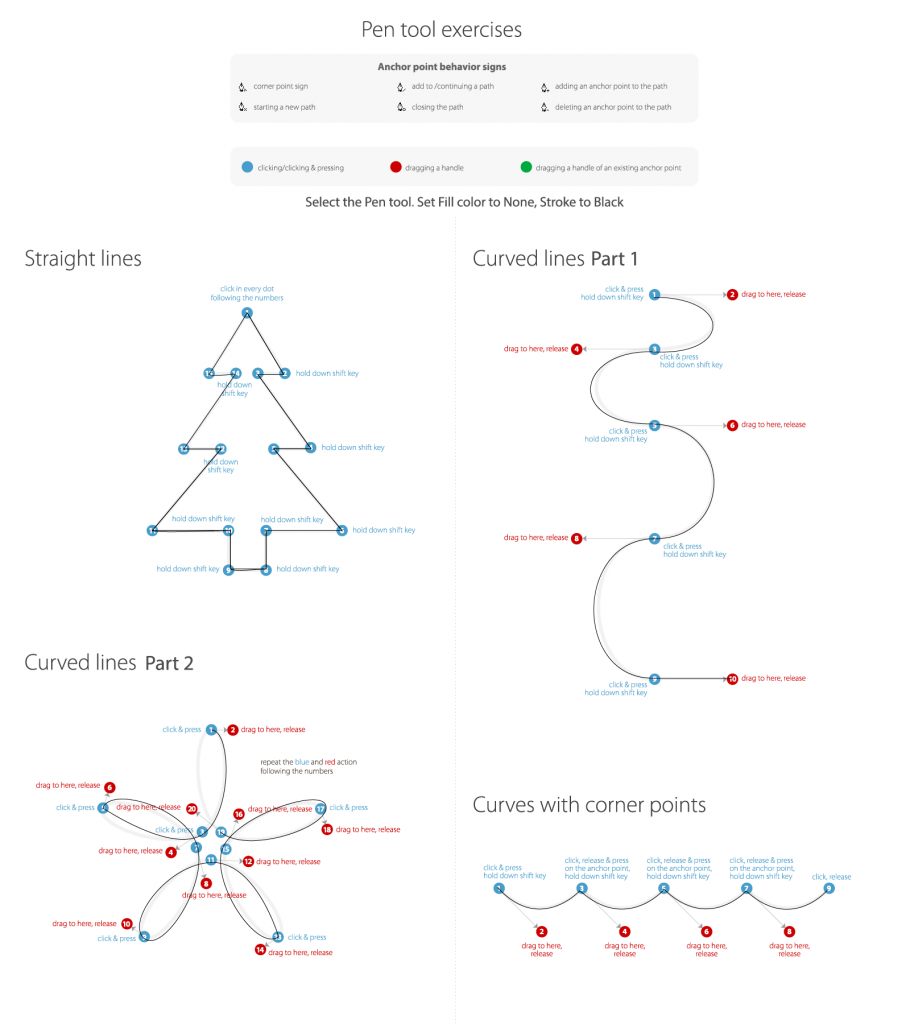
Reflection: I learned a lot in this exercise. I was not aware of all these different ways to use the pen tool, so drawing all of these patterns was eye-opening. I thought it was easy after 2o minutes of attempting to figure it out, but it was quite challenging. I could not figure out the option or control keys, making it very hard. I was getting quite frustrated. My submission could be improved if I spent more time on the curves with corner points exercise, but I could not figure it out. Luckily, you just said to try it. The professor could improve the assignment with more explanatory directions on the worksheet. I can apply this knowledge to the rest of my drawing in Illustrator now that I can actually use the pen tool. I was helped through the professor’s step-by-step class instruction.
Reflection: I learned a lot during this lab. Before this lab, I was unaware of these many techniques to make textures. I didn’t know I could create cloud or brushed metal textures. These are quite cool features, as I can now create images from essentially just pixels. This is helpful when creating backgrounds. It was easy to create the gradients, as I did this in DMA 201 last semester. However, it was challenging t0 do the shape/gradient combo, as I could not get the marching ants to work originally. However, I ended up figuring it out, so it was okay in the end. My submission could be improved if the sweatshirt material from my photos did not has any many color variations. The professor could not improve the assignment, it went very well. The D2L step-by-step instructions worked very well for me. I could apply this knowledge to the future, as I can now make my own textures. This will be helpful for creating backgrounds.
Image 1: Banana done with the Pen & Path tools — I don’t particularly enjoy this tool, however, I do acknowledge it’s helpfulness. I do think the Magnetic Lasso is more efficient, as I would be able to quickly select the banana.
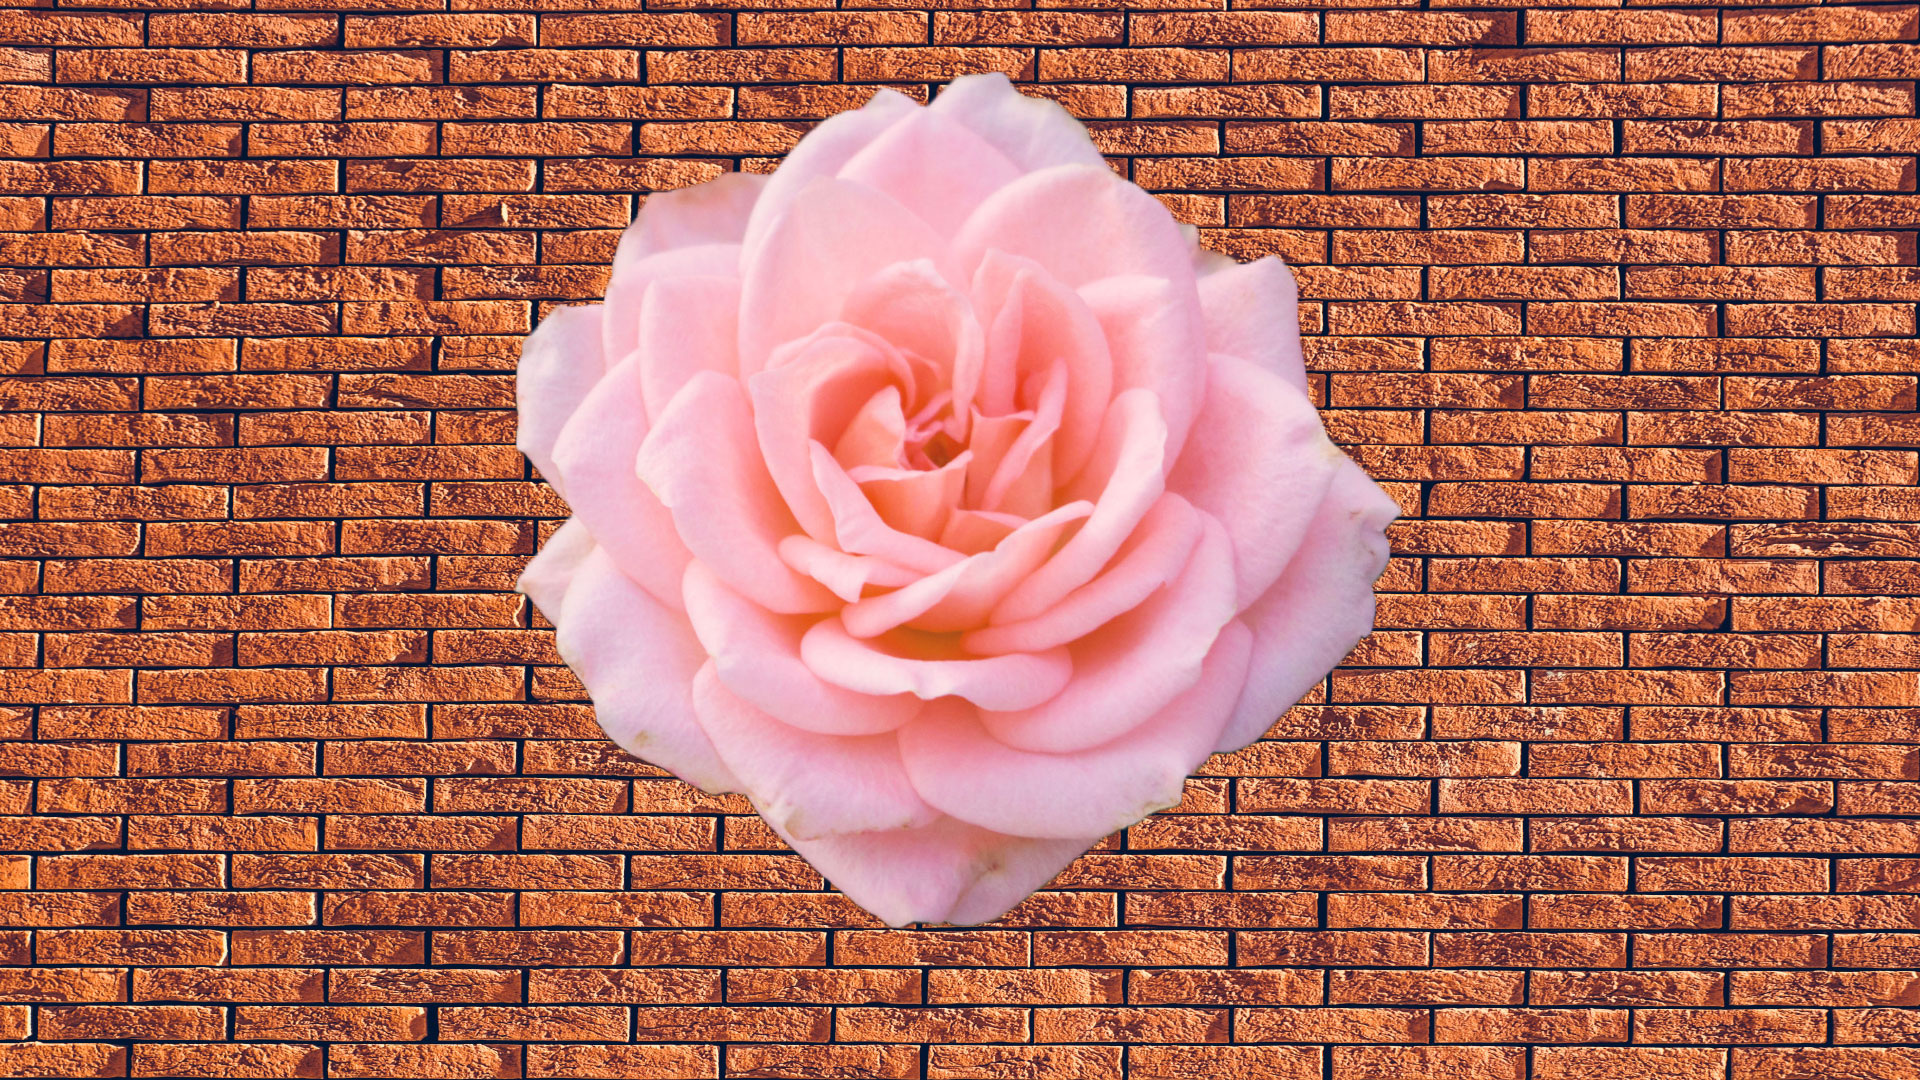
Image 2: Rose done with the Magnetic Lasso — This is my favorite tool to use, as it is very simple and works well when an object is clearly defined from the background.
Reflection:
Although I have worked in Photoshop before, I did learn some new techniques during this lab. I learned how to use the pen tool and the background eraser, as I always gravitate towards using the magnetic lasso and the magic wand. It was good to get out of my comfort zone, however, and learn to use the pen tool and eraser. It was easy to use the magnetic lasso tool, as I have done it multiple times in the past. It was challenging to use the background eraser. The option and click maneuver wasn’t working the best for me, making it quite difficult to perfect the woman’s hair. Consequently, this is how my submission could be improved. The details in her hair could be more refined. I should practice more with the eraser in order to be able to do this. The professor could improve the assignment by clarifying some posting directions in D2L. However, the step-by-steps do help me a lot. They make it easy to do the work outside of class. Lastly, I can apply this knowledge to future scenarios by using these new photoshop skills during masking. Depending on the image I can use a variety of ways to mask.
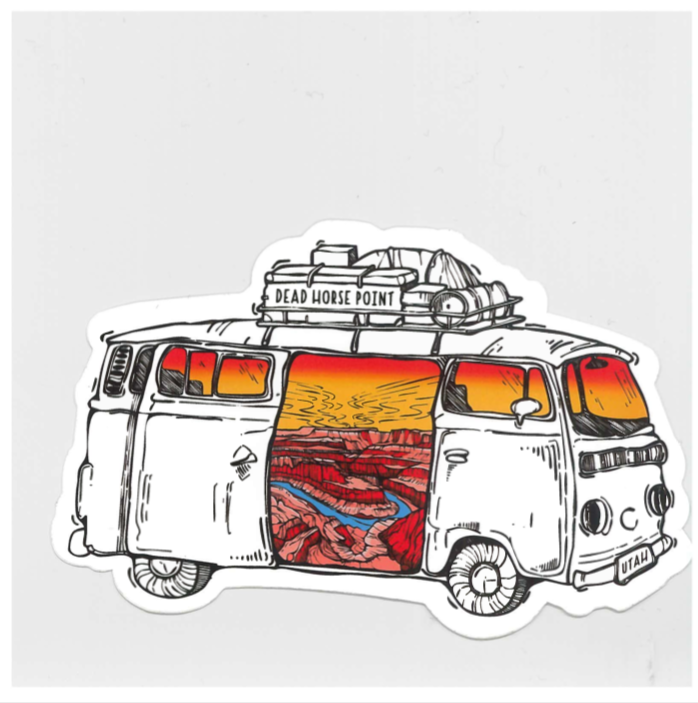
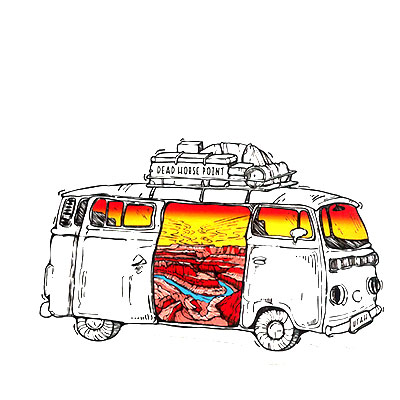
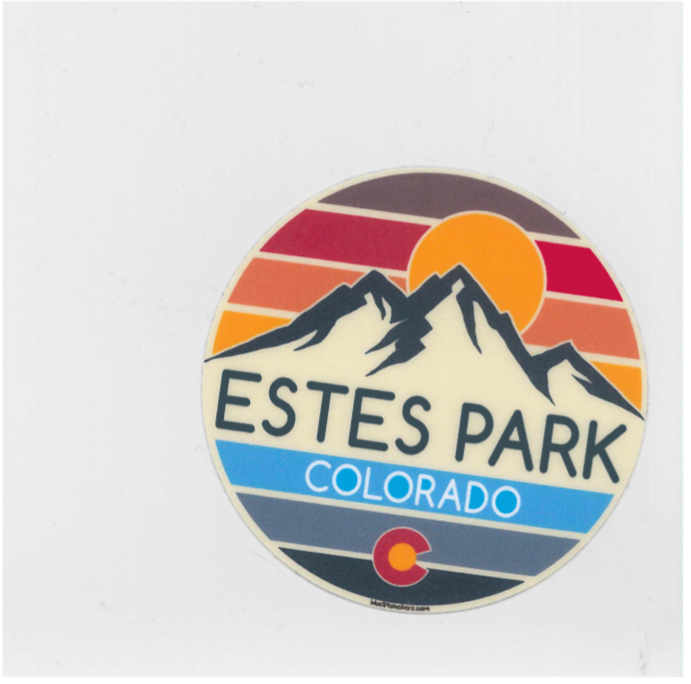
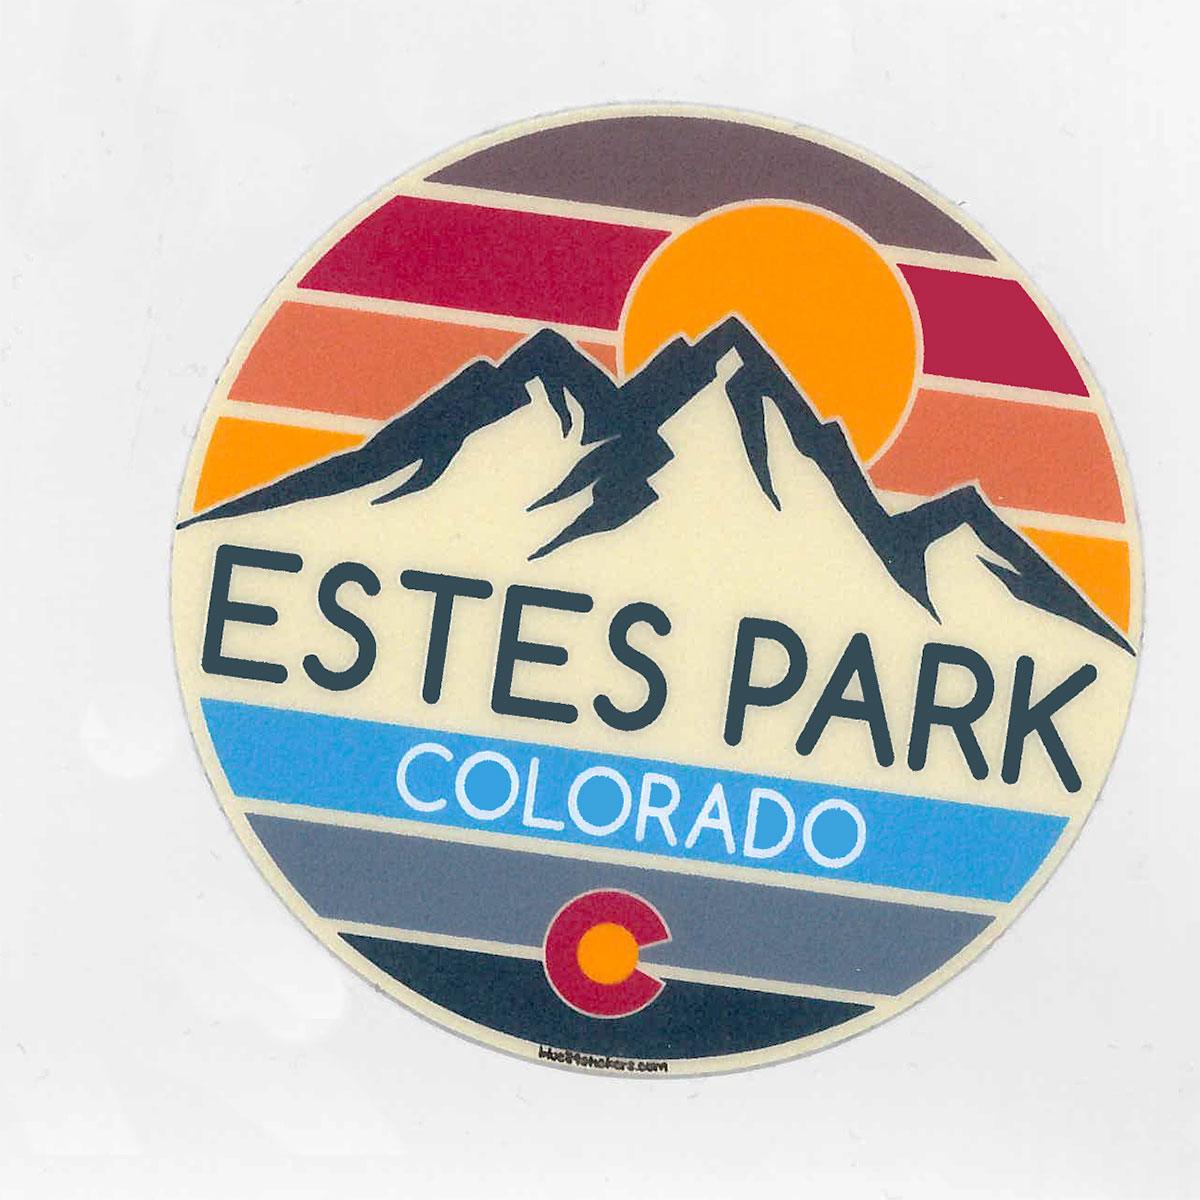
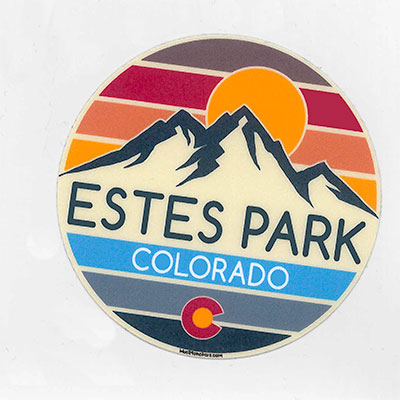
In this assignment, I learned a lot about different aspects in Photoshop. Previously, I had never used levels or curves in Photoshop, but I think they are a crucial element in recoloring images. They truly enhanced my stickers. I also learned a lot about resizing. I never did it much, but now I have a decent grasp on how to do it. Additionally, I never used the rubber-stamp tool before. It was a bit confusing at first, but I think I have a decent grasp on it now. I thought making the S-curves was relatively easy, as I have played around with it on my photo editing apps on my phone. I thought resizing the image multiple times was challenging. I have never resized a singular image so many times, so it did get a bit confusing. However, the tutorial on D2L was a great help, allowing me to understand the pixel and resolution sizes needed for different outputs. My submission could be improved if I had more time to play around with the print images. Changing the levels once on CMYK may have made the stickers a bit oversaturated, however, I like how they turned out. The professor could improve the assignment by sectioning off the tutorial into thumbs, large, or print. However, it was pretty easy to follow, so that is not exactly necessary. I can apply my knowledge to future assignments as I can now retouch on Photoshop, a skill that I did not have previously. This will enhance my future projects and their color appeal. The D2L information greatly helped me, as it provided step-by-step information on the Photoshop tools. Without it, I would have been confused so I’m glad it was accessible.
Image 1: Downloaded image from Unsplash.com — This photo has very high resolution, as it was obviously taken with a high-end camera. It is composed of pixels, making it a raster image.
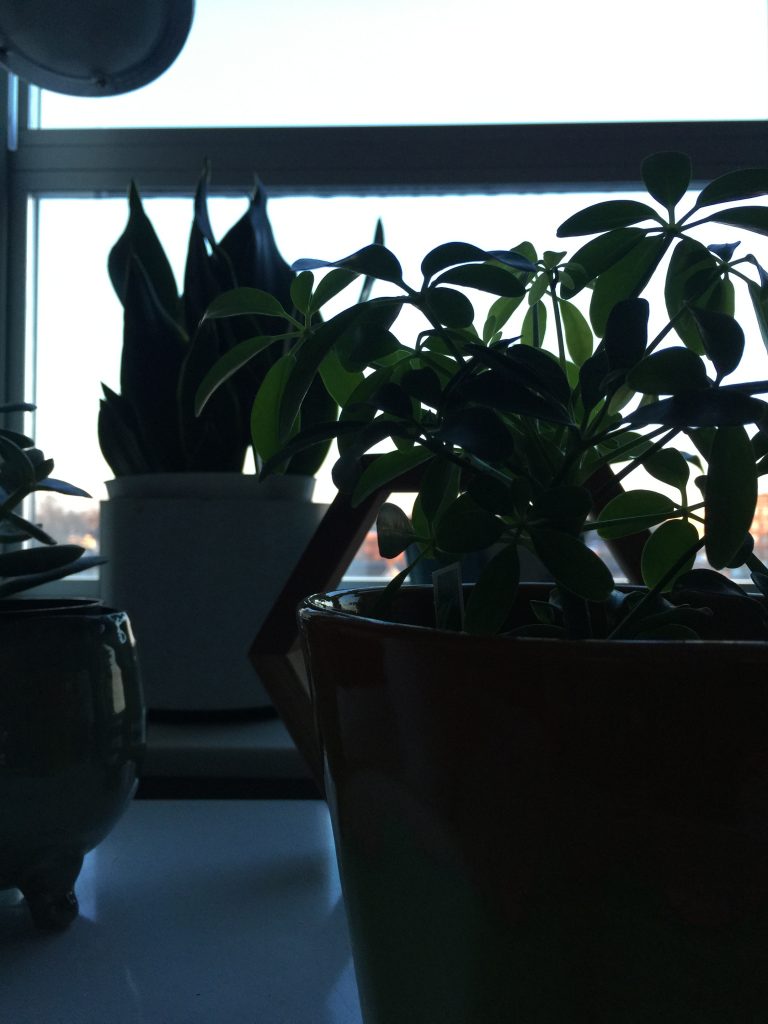
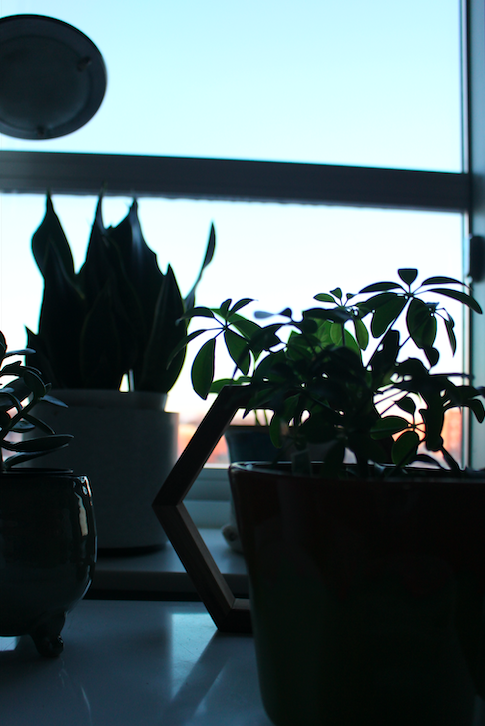
Observations: The phone images and the high-end images differ greatly. There are more details present in the camera images, as it had the ability of focusing upon a single part of the subject. For example, the leaves are the main focal point in the high-end image. The viewer’s eyes are drawn to a singular point, rather than the image as a whole, like the phone photo. This is due to the focusing capability of a DSLR in comparison to an old model of an iPhone. Additionally, in the plant photo, there is more range in the camera’s image due to the lens size. Overall, the quality is definitely better in the DSLR images in comparison to the phone images.
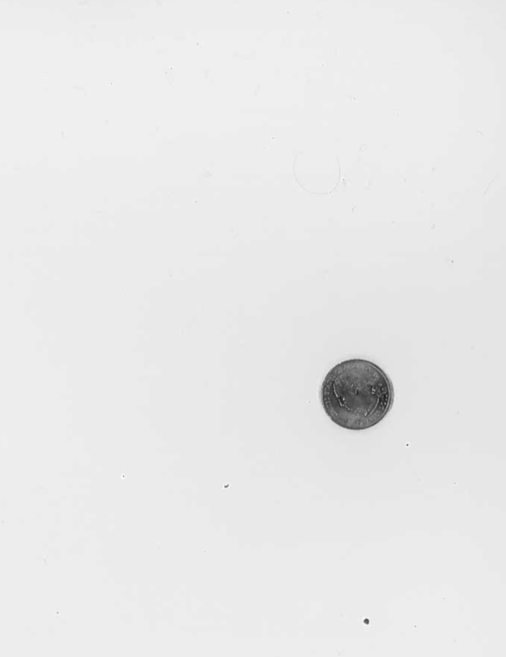
Image 6: Scanned Coin
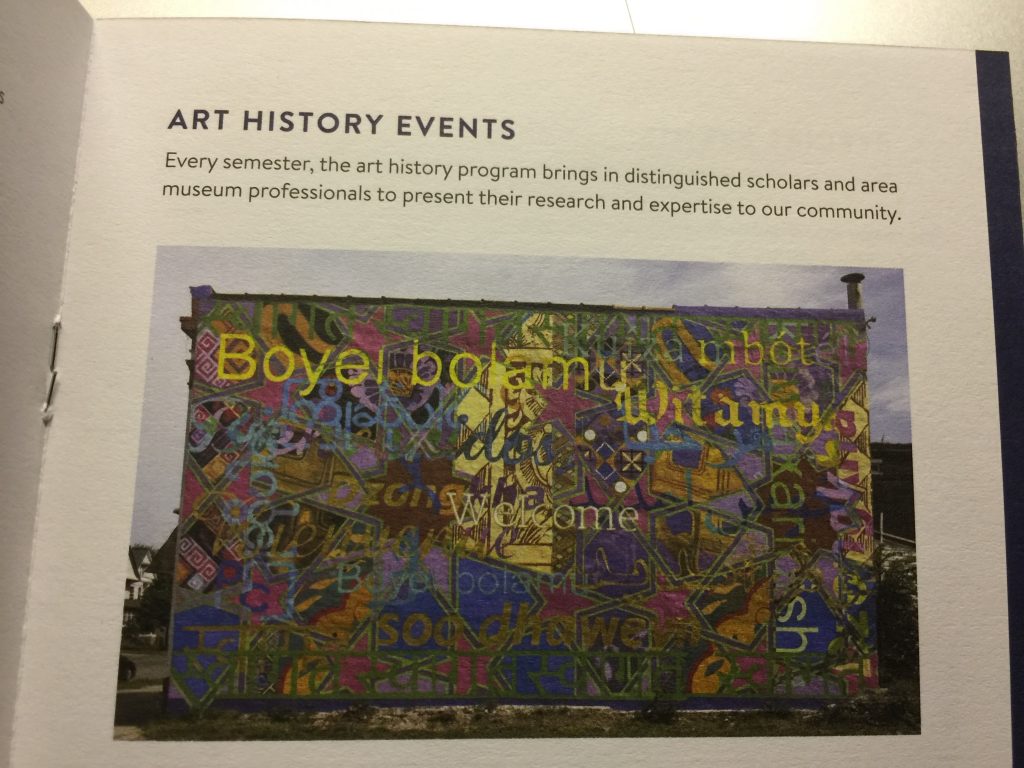
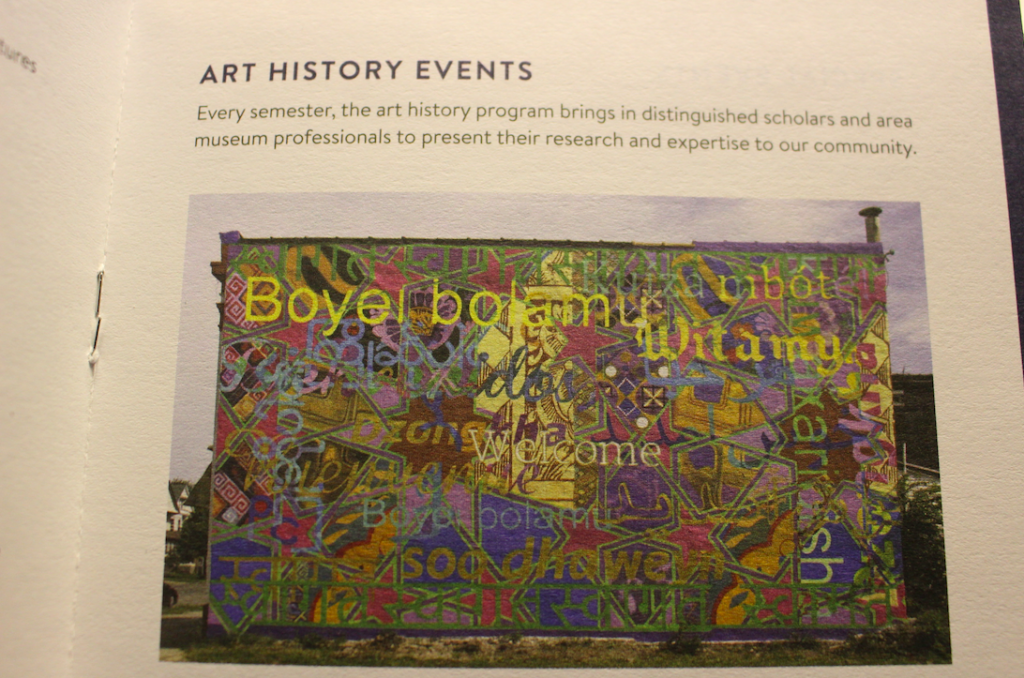
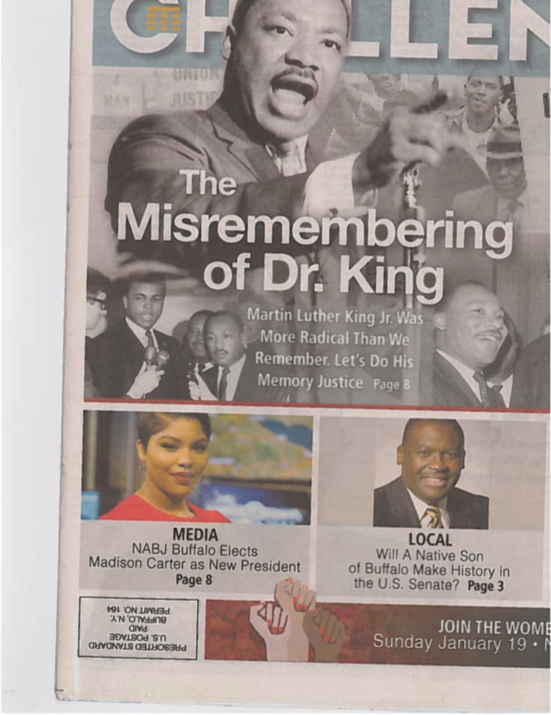
Image 7: Scanned magazine image
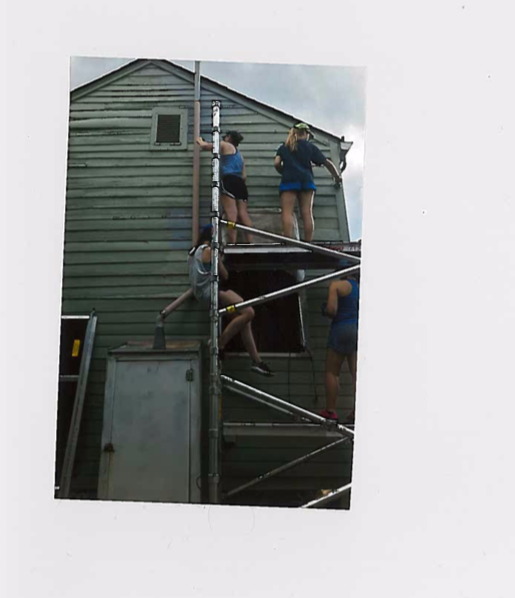
Image 8: Scanned photograph
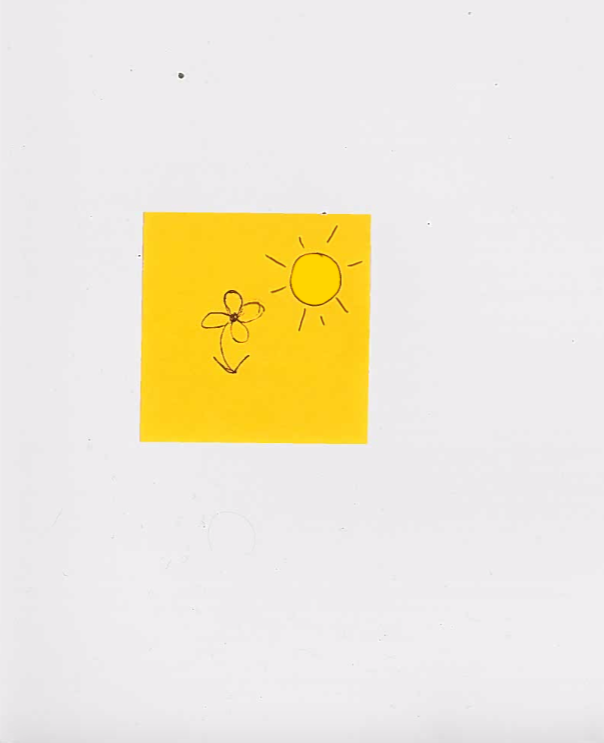
Image 9: Scanned drawing
Observations: The scanned resolution severely affects image size. Since the scanner was set to 200 dpi, the resolution of the original objects and images greatly decreased. The image quality was decreased as the dpi and resolution decreased. I do not recommend a scanner for being able to create high-quality images, unless set to a high dpi. Since the dpi was low, not all the details were retained.
Image 10: Image created from Photoshop
Observations: I decided to set up my file dimensions as 8 x 11 inches at 300 ppi. I used these dimensions as we used them last class and I knew that I wanted a vertical image. They are good dimensions as the pixel quality is increased enough to have a high resolution. Additionally, I chose the inches as it a good size to be featured on a webpage. It is not too big nor too small and condensed.
Reflection: I learned a lot in this assignment. I knew about raster and vector images before, however now I have a greater sense of the storage space that each takes up, as well as how changing pixel dimensions degrades an image. Additionally, I learned how to use a scanner, as I never needed to use one in the past. I also learned that scanning images affects resolution size, which I never thought of in the past. It was easy to take the photos of the magazine and object, as I have both a phone and camera accessible in my dorm room. It was also easy to recognize the differences in the images, as I am decently acquainted to taking photos on my phone and my DSLR. It was challenging to find time to use the scanner, as well as figure it out. I’m always running from class to class so I had to prioritize a few minutes in Lyons to learn how to use it. I was very confused, but eventually was able to scan them. My submission could be improved if I choose a more distinct object to photograph. Choosing the plant scene may have not been the best choice, as it was not just a singular object, but had many pieces to it. Additionally, I could have attempted to change the dpi on the scanner, but I wanted to be able to compare the resolution using the original settings and I honestly did not even know it was an option. The professor could improve the assignment by giving us a little more class time to construct the blog post, but it was definitely doable. I could apply my knowledge in the future, as I now know how to scan images and papers, which could be helpful in a workplace. Additionally, I now know about resolution, which is helpful when working in photoshop. I was helped by the Lecture 1 notes, as they fully described raster, vector, and resolution. It was a good tool to use for guidance.